


Exa
Merge lets you securely connect your agents to Exa and thousands of tools instantly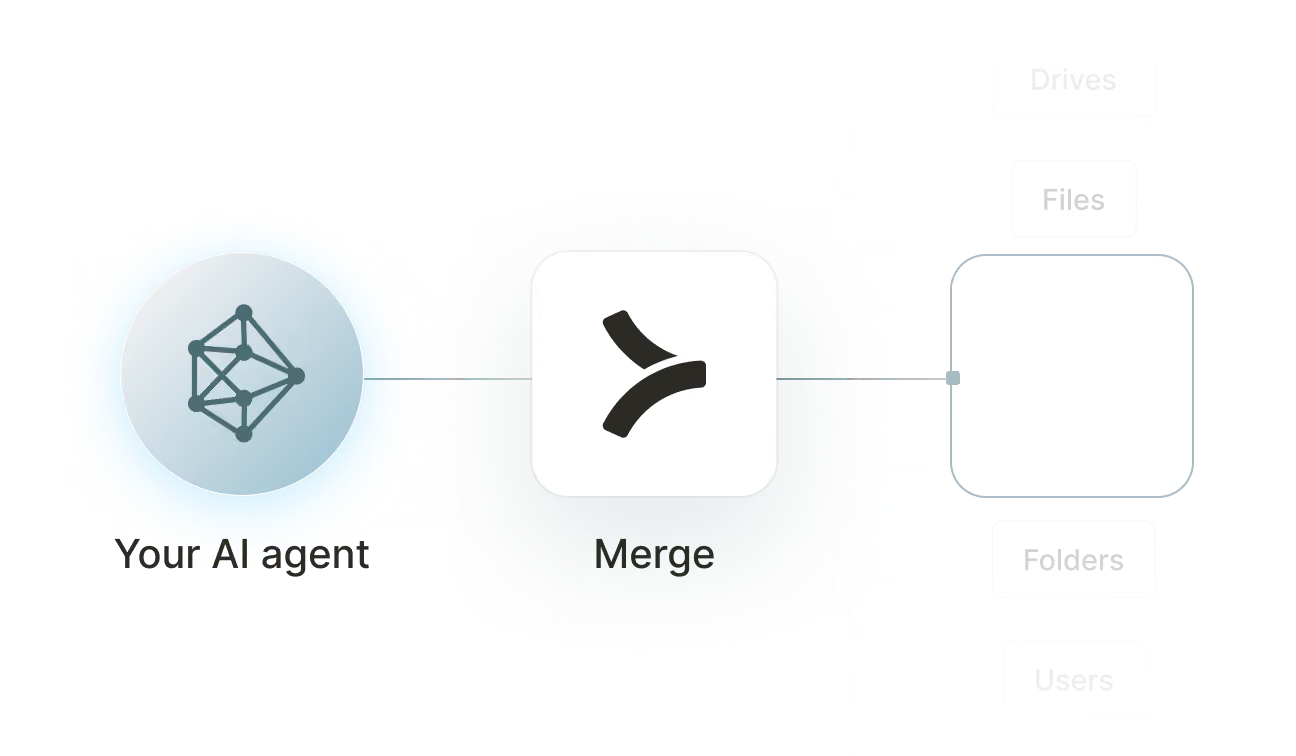


How to set upMerge Agent Handler
In an mcp.json file, add the configuration below, and restart Cursor.
Learn more in the official documentation ↗
1{
2  "mcpServers": {
3    "agent-handler": {
4      "url": "https://ah-api-develop.merge.dev/api/v1/tool-packs/{TOOL_PACK_ID}/registered-users/{REGISTERED_USER_ID}/mcp",
5      "headers": {
6        "Authorization": "Bearer yMt*****"
7      }
8    }
9  }
10}
Copy Code
Open your Claude Desktop configuration file and add the server configuration below. You'll also need to restart the application for the changes to take effect.
Make sure Claude is using the Node v20+.
Learn more in the official documentation ↗
1{
2  "mcpServers": {
3    "agent-handler": {
4      "command": "npx",
5      "args": [
6        "-y",
7        "mcp-remote@latest",
8        "https://ah-api-develop.merge.dev/api/v1/tool-packs/{TOOL_PACK_ID}/registered-users/{REGISTERED_USER_ID}/mcp",
9        "--header",
10        "Authorization: Bearer ${AUTH_TOKEN}"
11      ],
12      "env": {
13        "AUTH_TOKEN": "yMt*****"
14      }
15    }
16  }
17}
Copy Code
Open your Windsurf MCP configuration file and add the server configuration below.
Click on the refresh button in the top right of the Manage MCP server page or in the top right of the chat box in the box icon.
Learn more in the official documentation ↗
1{
2    "mcpServers": {
3      "agent-handler": {
4        "command": "npx",
5        "args": [
6          "-y",
7          "mcp-remote@latest",
8          "https://ah-api.merge.dev/api/v1/tool-packs/<tool-pack-id>/registered-users/<registered-user-id>/mcp",
9          "--header",
10          "Authorization: Bearer ${AUTH_TOKEN}"
11        ],
12        "env": {
13          "AUTH_TOKEN": "<ah-production-access-key>"
14        }
15      }
16    }
17  }
Copy Code
In Command Palette (Cmd+Shift+P on macOS, Ctrl+Shift+P on Windows), run "MCP: Open User Configuration".
You can then add the configuration below and press "start" right under servers. Enter the auth token when prompted.
Learn more in the official documentation ↗
1{
2  "inputs": [
3    {
4      "type": "promptString",
5      "id": "agent-handler-auth",
6      "description": "Agent Handler AUTH_TOKEN", // "yMt*****" when prompt
7      "password": true
8    }
9  ],
10  "servers": {
11    "agent-handler": {
12      "type": "stdio",
13      "command": "npx",
14      "args": [
15        "-y",
16        "mcp-remote@latest",
17        "https://ah-api-develop.merge.dev/api/v1/tool-packs/{TOOL_PACK_ID}/registered-users/{REGISTERED_USER_ID}/mcp",
18        "--header",
19        "Authorization: Bearer ${input:agent-handler-auth}"
20      ]
21    }
22  }
23}
Copy Code
FAQ on integrating with Google Drive’s API
Heading

What is an Exa MCP server?
It’s an MCP server that lets your agents access data and functionality from Exa via tools. Your agents can use these tools to answer questions and provide web citations, perform semantic web searches, run deep research jobs, and more.
Exa offers its own “official” MCP server. You can also use 3rd-party MCP servers from a variety of platforms, including Merge Agent Handler.
How can I use an Exa MCP server?
Here are a few ways you can use the server:
- Sales prospecting and account research: Use Exa MCP to pull up-to-date company pages, funding news, leadership changes, tech stack signals, and competitor context to personalize outreach and prepare for calls
- Competitive intelligence and market monitoring: Continuously discover competitor launches, pricing changes, messaging shifts, and category trends, then summarize what changed and why it matters for positioning
- Customer support and escalation triage: When a customer reports an issue, quickly gather relevant external context like vendor status pages, incident write-ups, changelogs, and known outages to speed diagnosis and comms
- Content marketing and SEO research: Find the best-ranking and most-cited sources on a topic, extract recurring headings and questions, and generate an evidence-backed brief for blogs, landing pages, and FAQs
- Due diligence for partnerships and vendor selection: Aggregate third-party reviews, security/compliance documentation, outage history, and integration ecosystem info to compare vendors and create a concise recommendation memo
What makes Merge Agent Handler’s Exa MCP server better than alternative Exa MCP servers?
Merge Agent Handler provides additional infrastructure around MCP connectors that improves reliability, security, and observability.
- Enterprise-grade authentication and credential management: Agent Handler manages authentication flows for third-party systems and securely stores credentials. Developers do not need to build their own credential handling layer
- Built-in security gateway with data loss protection (DLP): All tool inputs and outputs are scanned for sensitive data. Administrators can configure rules to block, redact, or mask information before it reaches external systems
- Real-time observability and audit logging: Agent Handler logs every tool call and its underlying API request. These logs are fully searchable and provide a complete audit trail for debugging, monitoring, and compliance workflows
- Tool Pack management: Instead of exposing all connectors to every agent, developers can bundle connectors and tools into Tool Packs tailored to specific use cases (e.g., research agents vs. internal productivity agents)
Can I set custom security rules for Exa tool calls in Merge Agent Handler?
Yes, Merge Agent Handler includes a security gateway with data loss protection (DLP) that evaluates tool inputs and outputs before they are sent to third-party systems.
Here are some examples:
- Block credential leakage in prompts: Block any Exa tool call if the input contains API keys, tokens, or secrets so an agent can't “accidentally” send credentials out via a search query
- Redact PII in outbound queries: If the agent includes customer emails, phone numbers, or other identifiers in an Exa query, automatically redact those fields before the tool call is executed
- Mask sensitive data in Exa results: If Exa returns content that includes sensitive strings (e.g., internal IDs or access links), mask them before the output is returned to the agent
- Hard-block “high-risk” topics or patterns: Block tool calls that appear to be doing targeted research on private individuals, or that match patterns like “SSN”, “passport number”, or “bank account” style data requests
- Require stricter controls for certain agents or tool packs: Only allow Exa tools for approved research tool packs, and block Exa tool calls from agents that are intended to operate strictly on internal systems
- Alert on rule violations: Trigger real-time alerts when an Exa tool call violates a rule, so Security or Engineering can review and follow up quickly
How can I start using Merge Agent Handler’s Exa MCP connector?
You can take the following steps:
1. Decide the Exa use case you are enabling (e.g., semantic web search, deep research jobs, or generating answers with web citations).
2. Create an Agent Handler account or sign in.
3. Add the Exa MCP connector in Merge Agent Handler.
4. Set up authentication / credentials for Exa inside Agent Handler so your agent can call Exa without you building a separate credential layer.
5. Put the Exa tools into a Tool Pack so you can expose Exa only to the agents and environments that should have it.
6. Configure Security Gateway (DLP) rules for Exa tool calls, if needed (block, redact, or mask sensitive data in tool inputs and outputs).
7. Test the connector end-to-end by running realistic prompts and verifying both the tool outputs and the enforcement of your security rules.
8. Monitor tool calls in logs once you roll it out, using Agent Handler’s audit logging / observability to debug and review Exa usage over time.

























Ready to try it out?
Whether you're an engineer experimenting with agents or a product manager looking to add tools, you can get started for free now
