Table of contents
Just for you
How to add candidates to applicant tracking systems


Applicant tracking systems (ATSs) allow you to monitor and manage applicants for a job posting in your company. They help with tasks such as extracting data from resumes, grouping applicants based on similarities, and viewing the job status progress for each applicant.
When recruiting, you might want to post positions on more than one ATS. Or you may be managing multiple ATS platforms for different customers. In such cases, you can reduce the manual work of inputting data to each ATS platform with Merge—a platform that allows you to communicate with different ATS platforms using a single API (in this case, its ATS Unified API).
In this article, you will learn how to add new candidates to different ATS platforms using the Merge Python SDK. But let’s first take a closer look at Merge.
{{blog-cta-100+}}
What Is Merge?
Merge simplifies the process of integrating with various software by offering a unified API that lets you connect to dozens of software platforms in the same category—including CRM, accounting, HR, and ticketing systems—without dealing with the differences between them.
Merge works by calling the APIs of different systems and managing their differences under the hood. This means a single API call can serve all the supported platforms, and you don't have the hassle of maintaining integration code. If you're adding candidates to different ATSs, it means you don't need to change the shape of your API request to add candidates to different platforms.
Merge integrates with more than forty ATSs, including popular options like Greenhouse, BambooHR, Taleo, iCIMS, and Workable, and it offers SDKs for different languages, including Typescript, Python, Java, and Ruby.
How to Add Candidates to an ATS using Merge
This tutorial will show you how to use the Python SDK to add candidates to two ATS platforms—Workable and Breezy HR. These platforms all offer free trial accounts so that you can follow along, but you can also easily adapt these steps for any of the other ATSs Merge supports.
Prerequisites
To follow along, you need the following:
- Python 3.7+
- A Merge.dev account (you can sign up for free)
- Free trial accounts for Workable, and BreezyHR
Connecting your ATSs to Merge
The first step with any Merge integration is to connect the relevant software platform to Merge. On your Merge dashboard, navigate to Linked Accounts and select Test Linked Accounts since you don't want to use the production space for this tutorial.
On that page, click on the Launch Test Link button. A modal showing all integration categories should pop up.

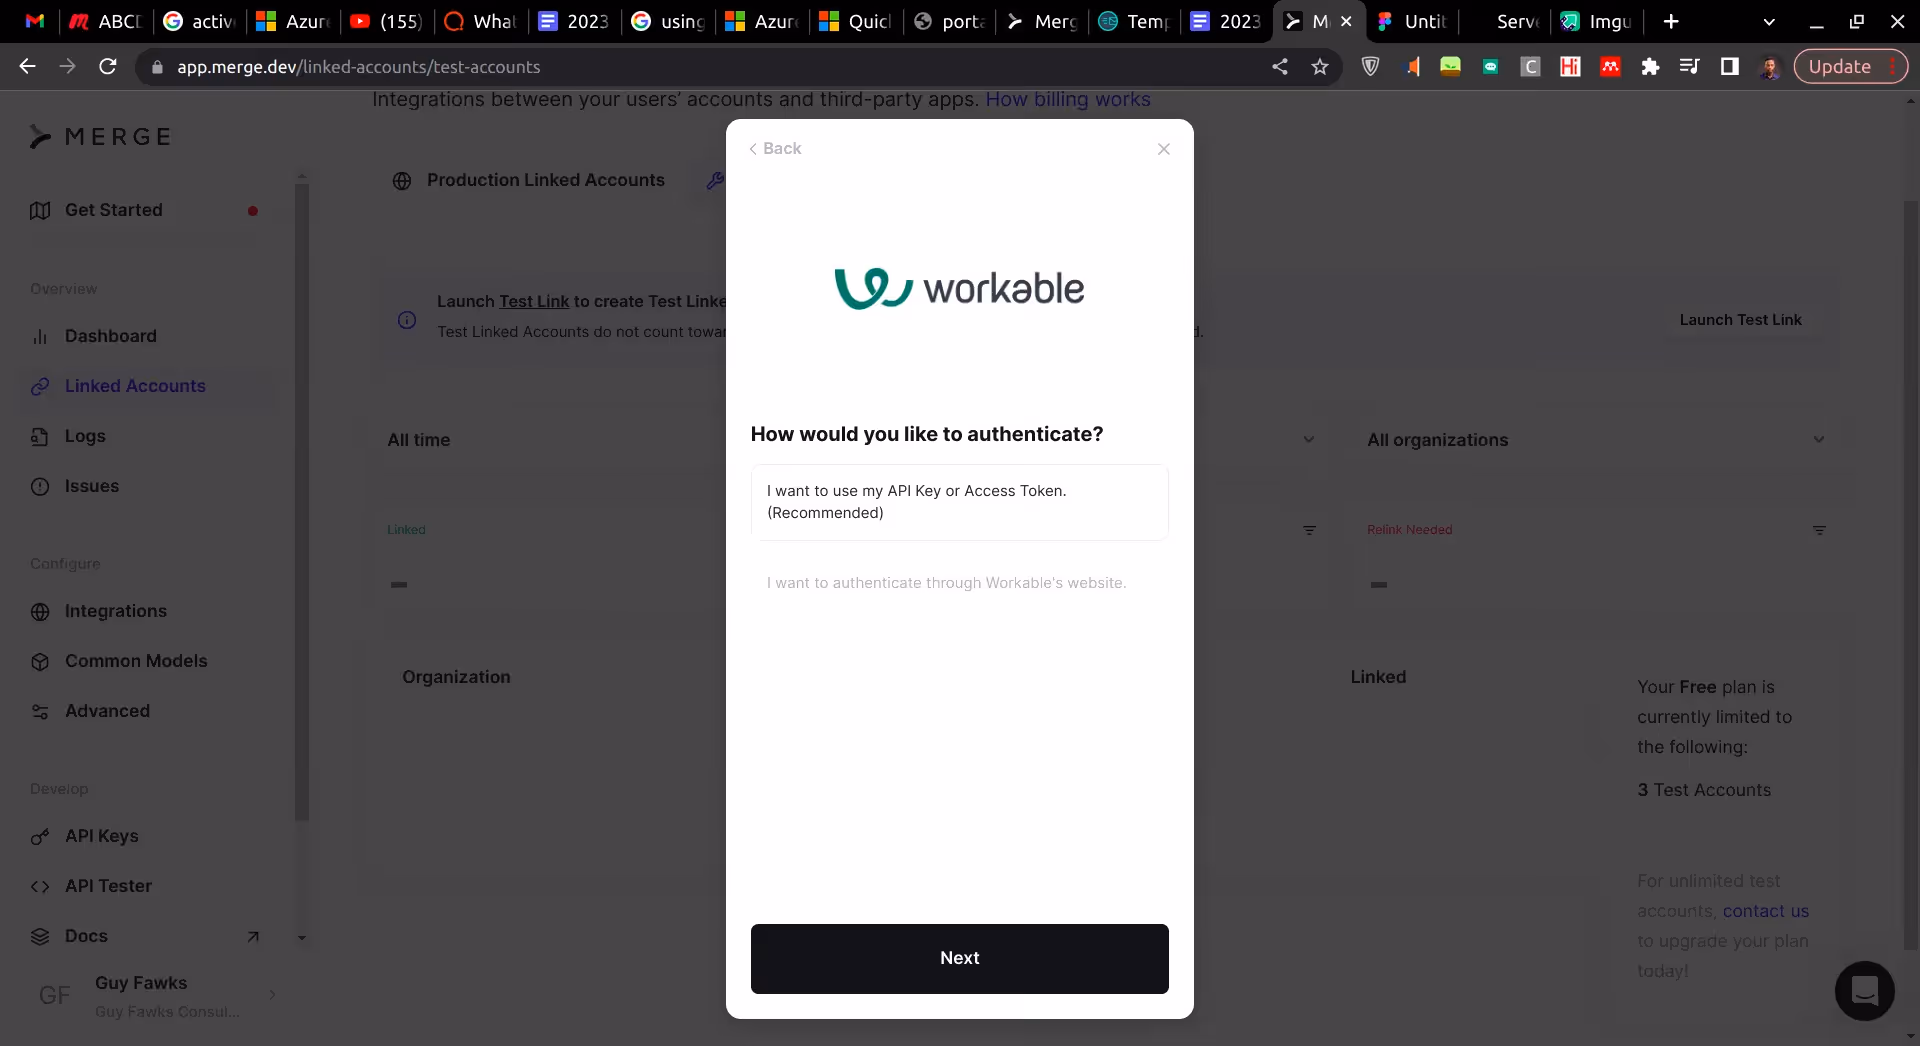
Select Applicant Tracking System, search for "Workable", and click on it. Read the terms of the integration, and then select the API token authentication option, as recommended.
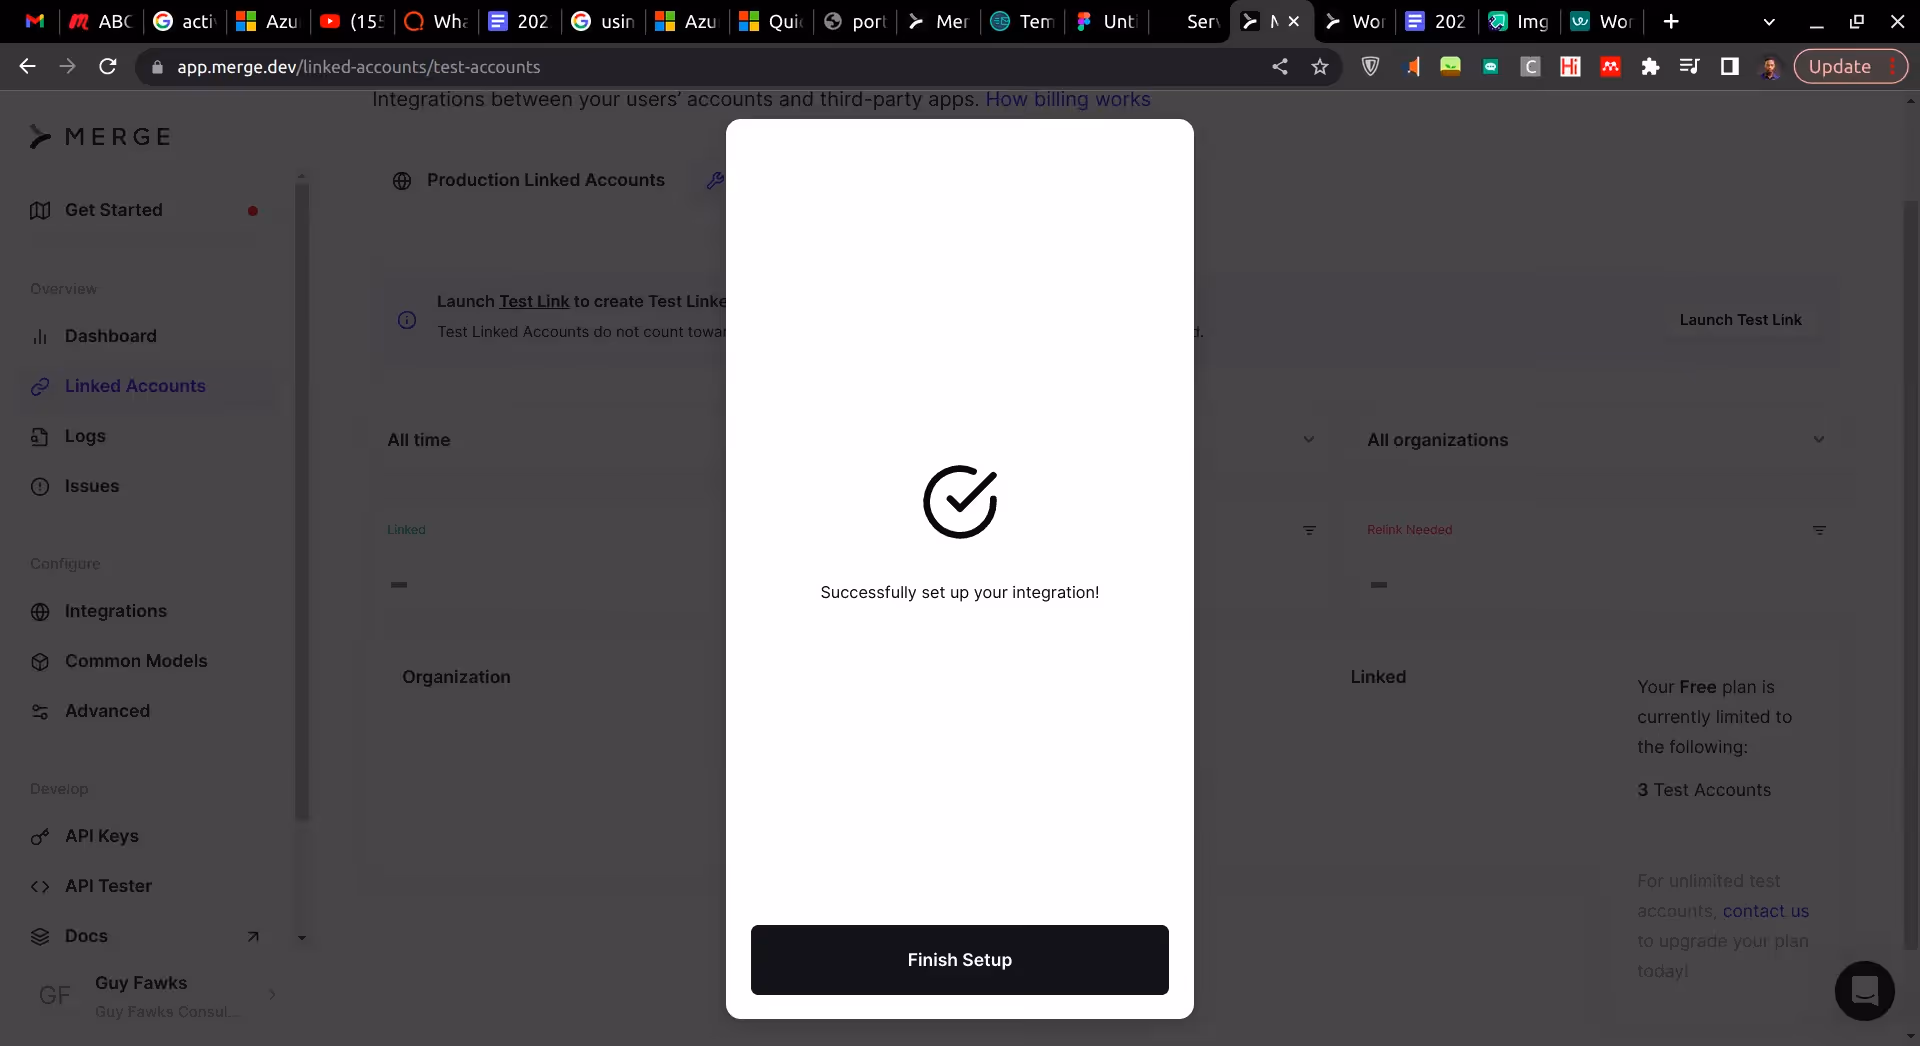
Input your Workable subdomain and your API on the subsequent page. Merge provides a detailed up-to-date guide on how to connect to the Workable ATS. If you successfully inputted the details, you should have a success screen at the end of the flow.
If not, check whether your Workable subdomain and API key are correct.
You can connect to a total of three accounts in the testing workspace. Repeat the process above to connect Breezy to Merge.
Setting Up the Demo Environment
To set up your demo environment, get the code you'll be using in this tutorial by cloning the accompanying GitHub repo using the command below:
Now, you need to follow the steps below to create a virtual environment and install dependencies. The first step is to navigate into the cloned repo. Do this by running the command below:
Then create the virtual environment using:
Now, activate the virtual environment using:
After the virtual environment is active, install the requirements using the following:
Part of the packages listed in requirements.txt is the Merge Python SDK locked at version 0.1.1. Version locking ensures that the code in this tutorial will work regardless of when it is accessed.
Next, set up your environment variables first by creating an .env file and supplying the required details. Create the .env file by copying it from the example file called .env.example using the command below:
This is what it contains:
The API_KEY environment variable is an API key you must obtain from the keys page of your Merge.dev dashboard. Since you set up a test account integration earlier, you need to use the test API key.
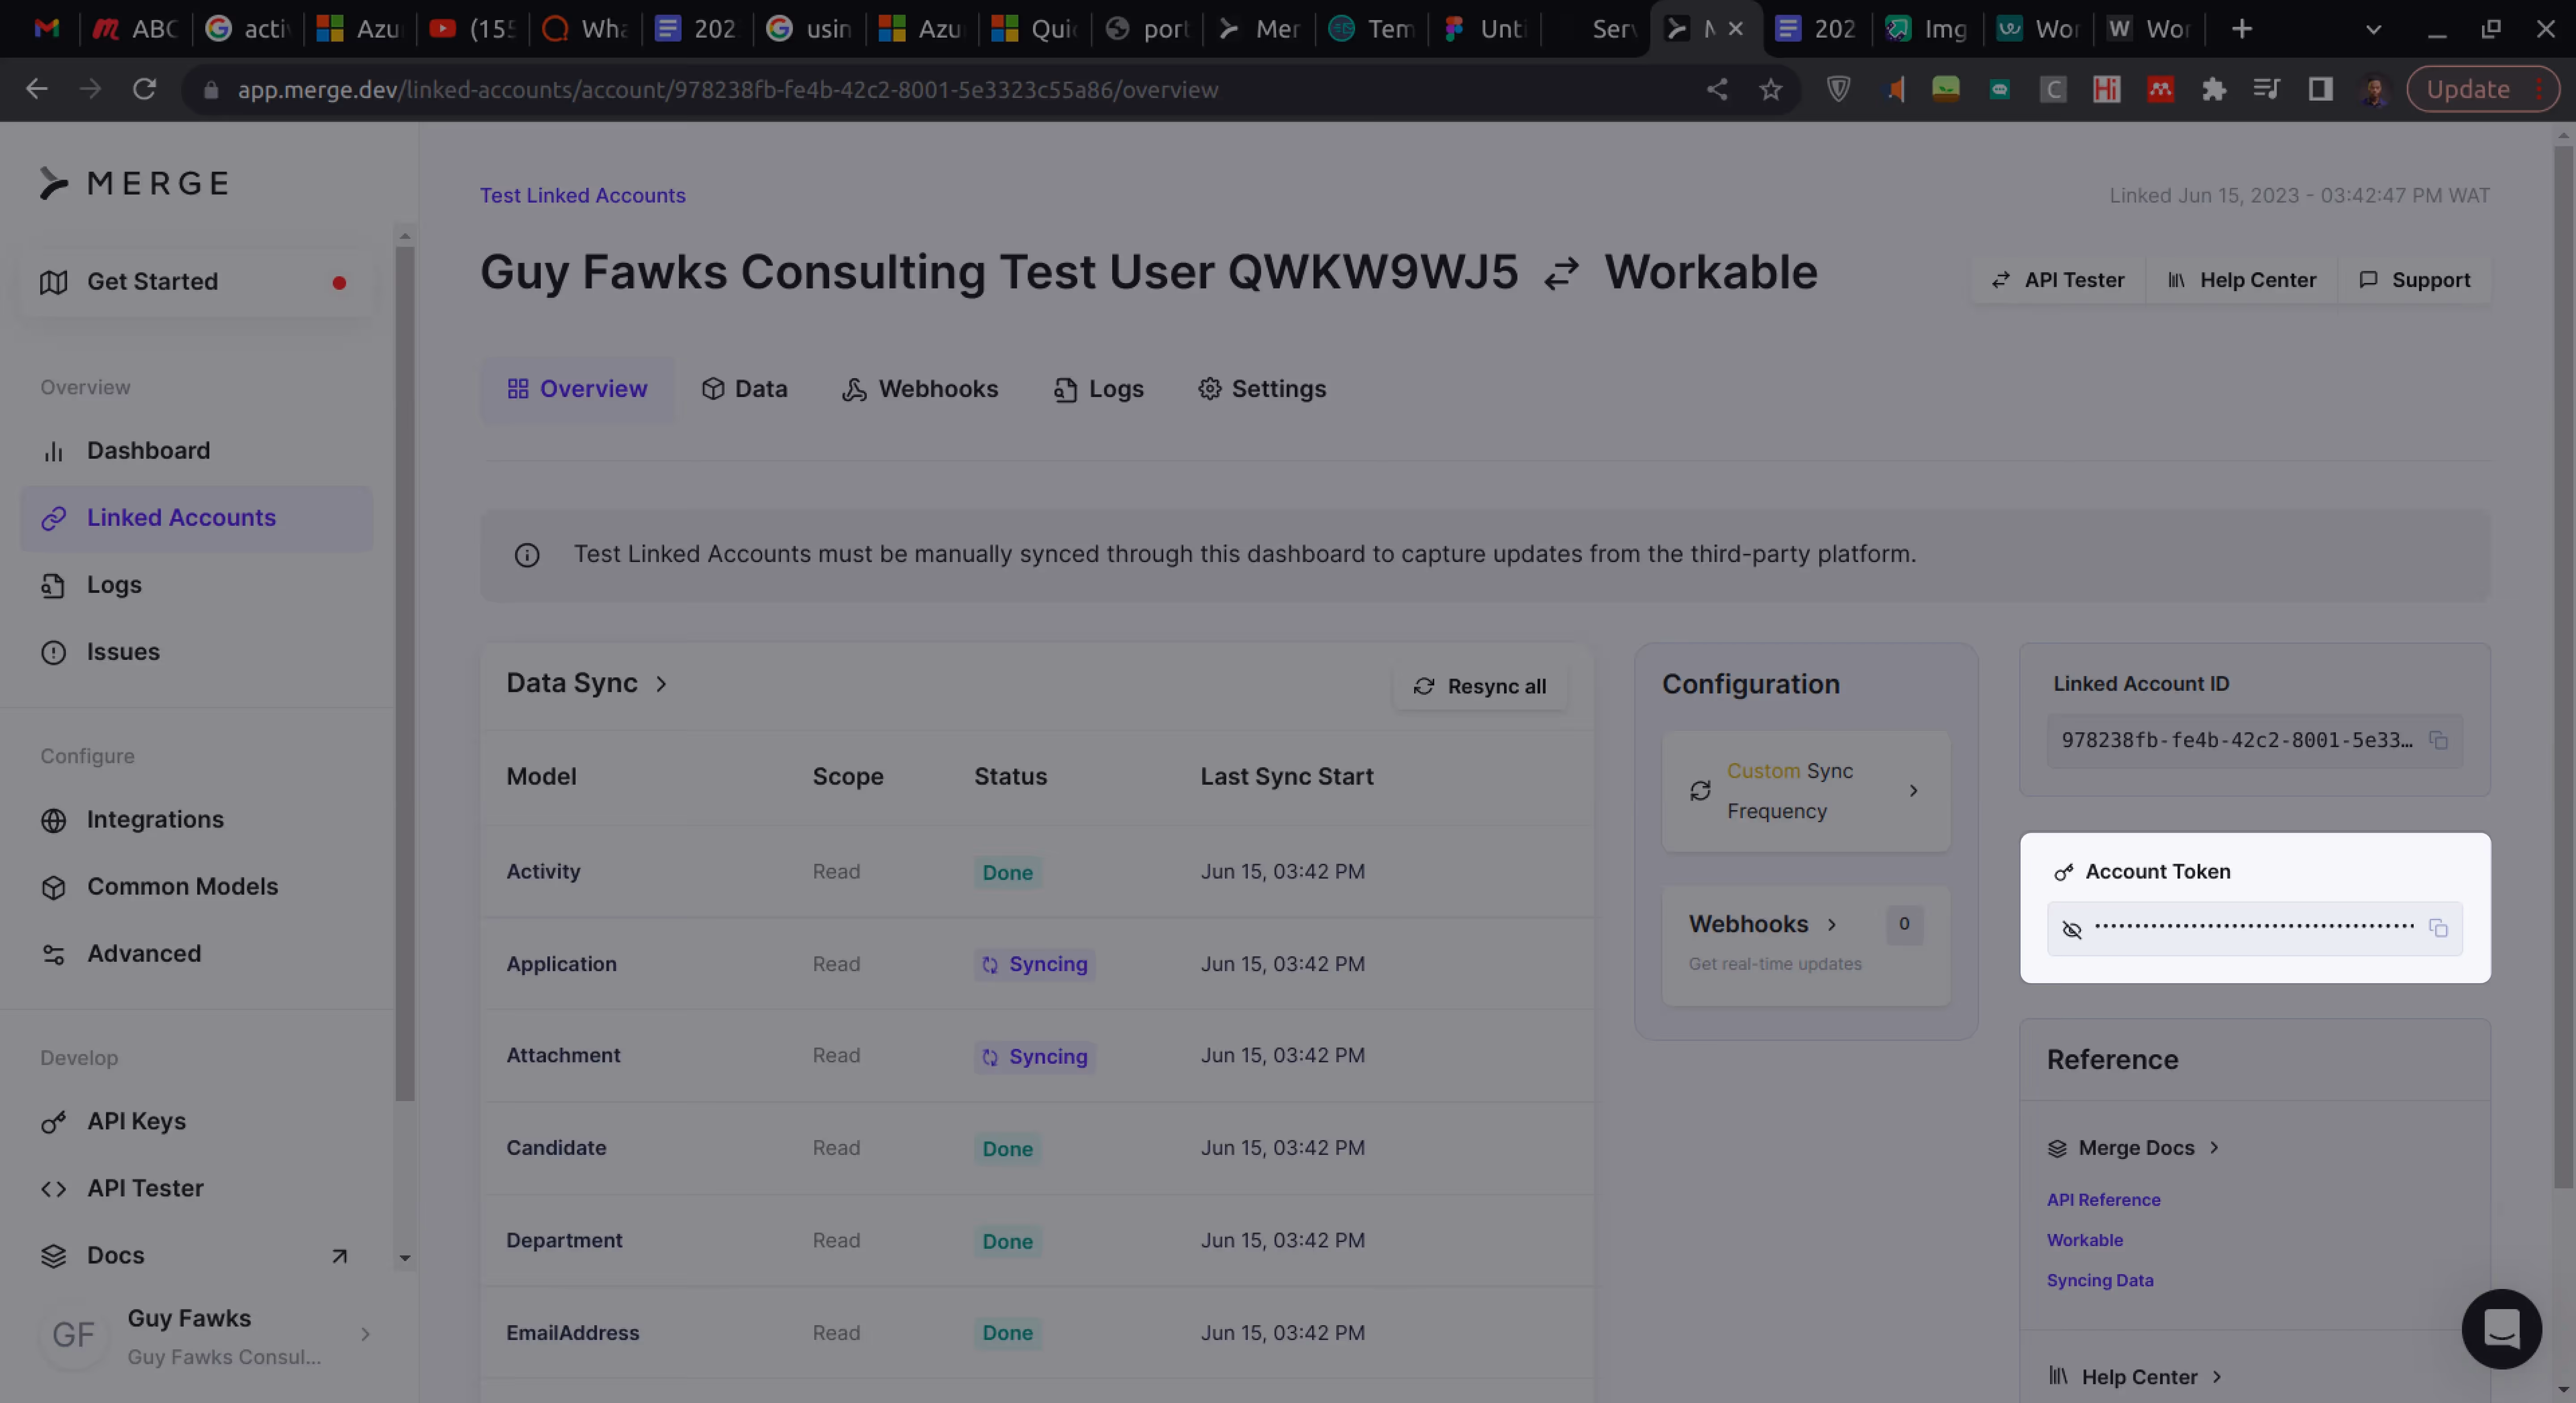
The other keys in the .env file are the account tokens of Workable and Breezy. You can obtain these tokens from each linked account page on your Merge dashboard. For example, when you navigate to Workable's linked account page, you can find the account token on the right as shown in the image below:
Adding Candidates
Merge allows you to add candidates to different API platforms without changing the structure of the candidate biodata. It only requires you to add the account token specific to the ATS platform, the ID of the job which the candidate is applying to (application_id), and the ID of the user Merge is acting as (remote_user_id).
Obtaining Job Application ID and Remote User ID
To add a candidate to an ATS using the Merge SDK, you need three important details apart from the candidate's personal information, such as first name, last name, and email address. These are the account_token, application_id, and remote_user_id.
The account_token is obtained from the Merge dashboard, as explained in the section on setting up the demo environment. The application_id and remote_user_id can be obtained using the applications and users modules of the Merge Python SDK.
To do that, create a file at the root of the project's directory called ids.py and add the following to it:
The output you will obtain from running the ids.py file should be similar to the snippet below:
Note: The application_id that is returned is the first job in a list of possible jobs that a candidate can apply to. In a real application context, you would have to obtain an application ID that matches the job that a candidate actually wants to apply to. The remote_user_id is the ID of a recruiter or hiring manager on the ATS platform. When you run a script with this user's ID, Merge adds the candidate as if the real-life user did it manually.
Adding a New Candidate
Now, you're ready to run the main.py file to add a new candidate to an ATS.
The code snippet below shows the main.py file with the WORKABLE_ACCOUNT_TOKEN environment variable set. This means running the code will add the candidate to your Workable ATS. Before running the code, you need to add the application_id and remote_user_id you obtained from running the ids.py file to the applications array and the remote_user_id field respectively. After adding both IDs, go ahead and run the code:
Running the code above should produce an output similar to the snippet below:
Note: Your output will not be formatted like the snippet above but should have minimal differences when it is formatted.
The main.py script calls the merge.ats.candidates.create method to create a candidate on the target ATS platform. The platform is set from the Merge initialization where the api_key and account_token are set. This method requires two parameters: the model and remote_user_id.
The model contains the data about the candidate while the remote user ID is the ID of the user on the ATS platform that the API mocks. The model contains fields such as first_name, last_name, location, and email_address. Each candidate must be added with a unique email and have an associating application ID in the applications array.
Remember to make sure that the account_token parameter of the Merge class matches in both the ids.py and main.py files when adding a new user.
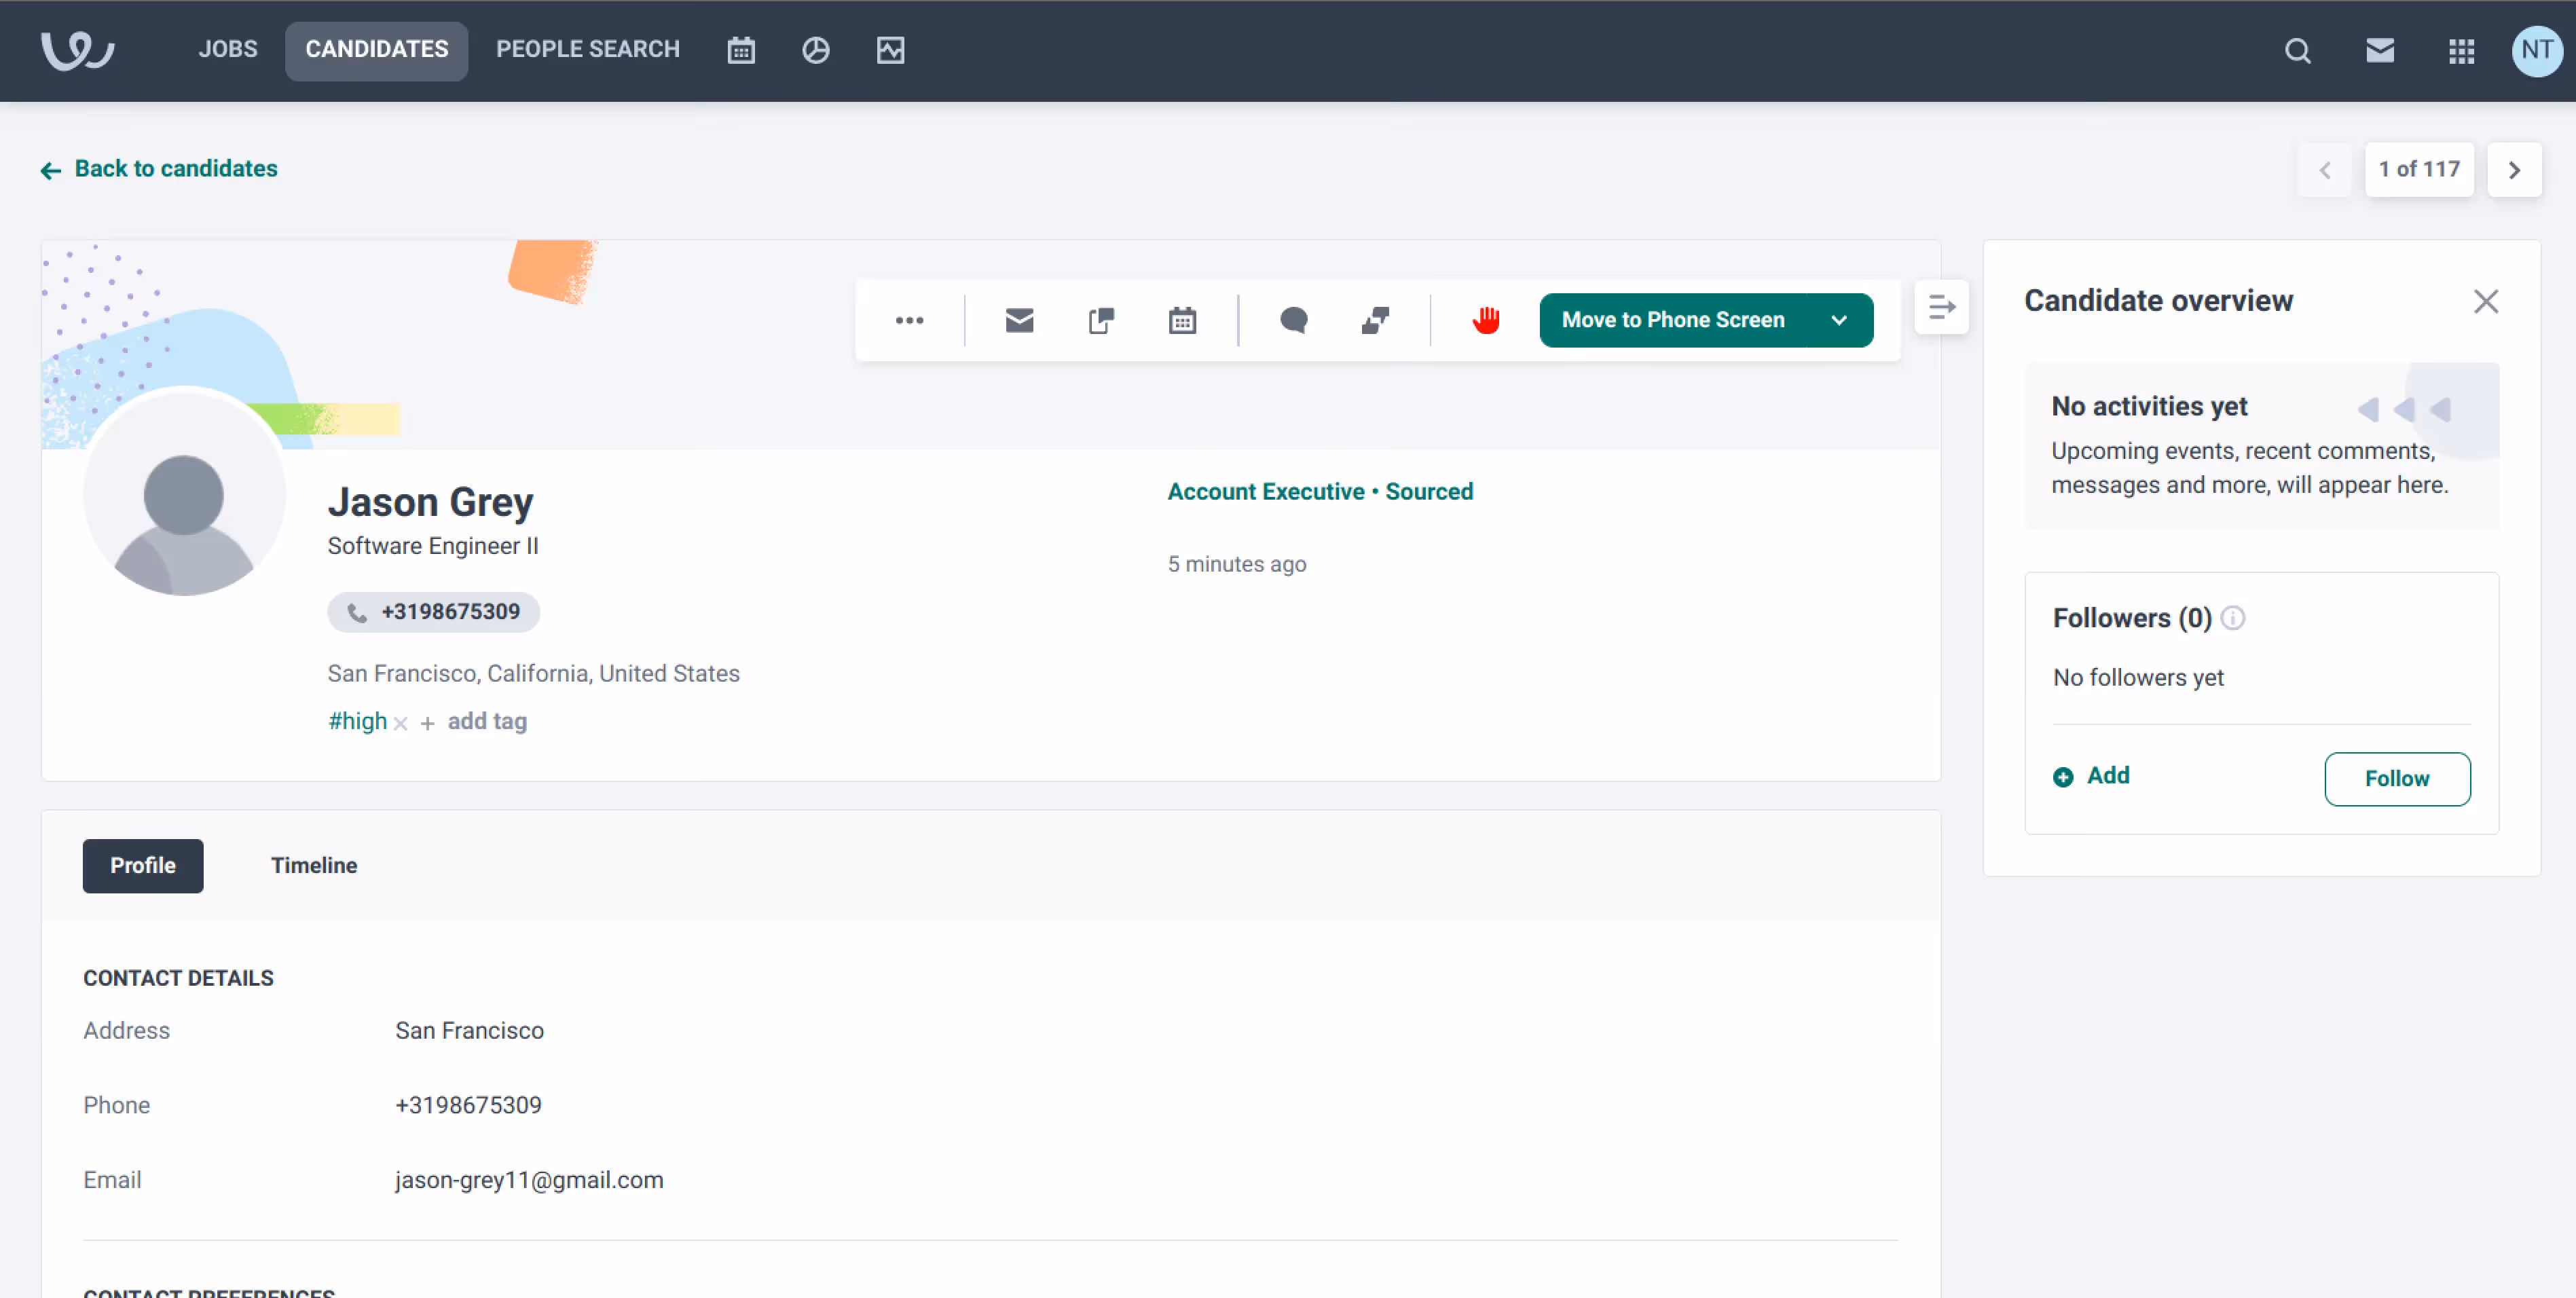
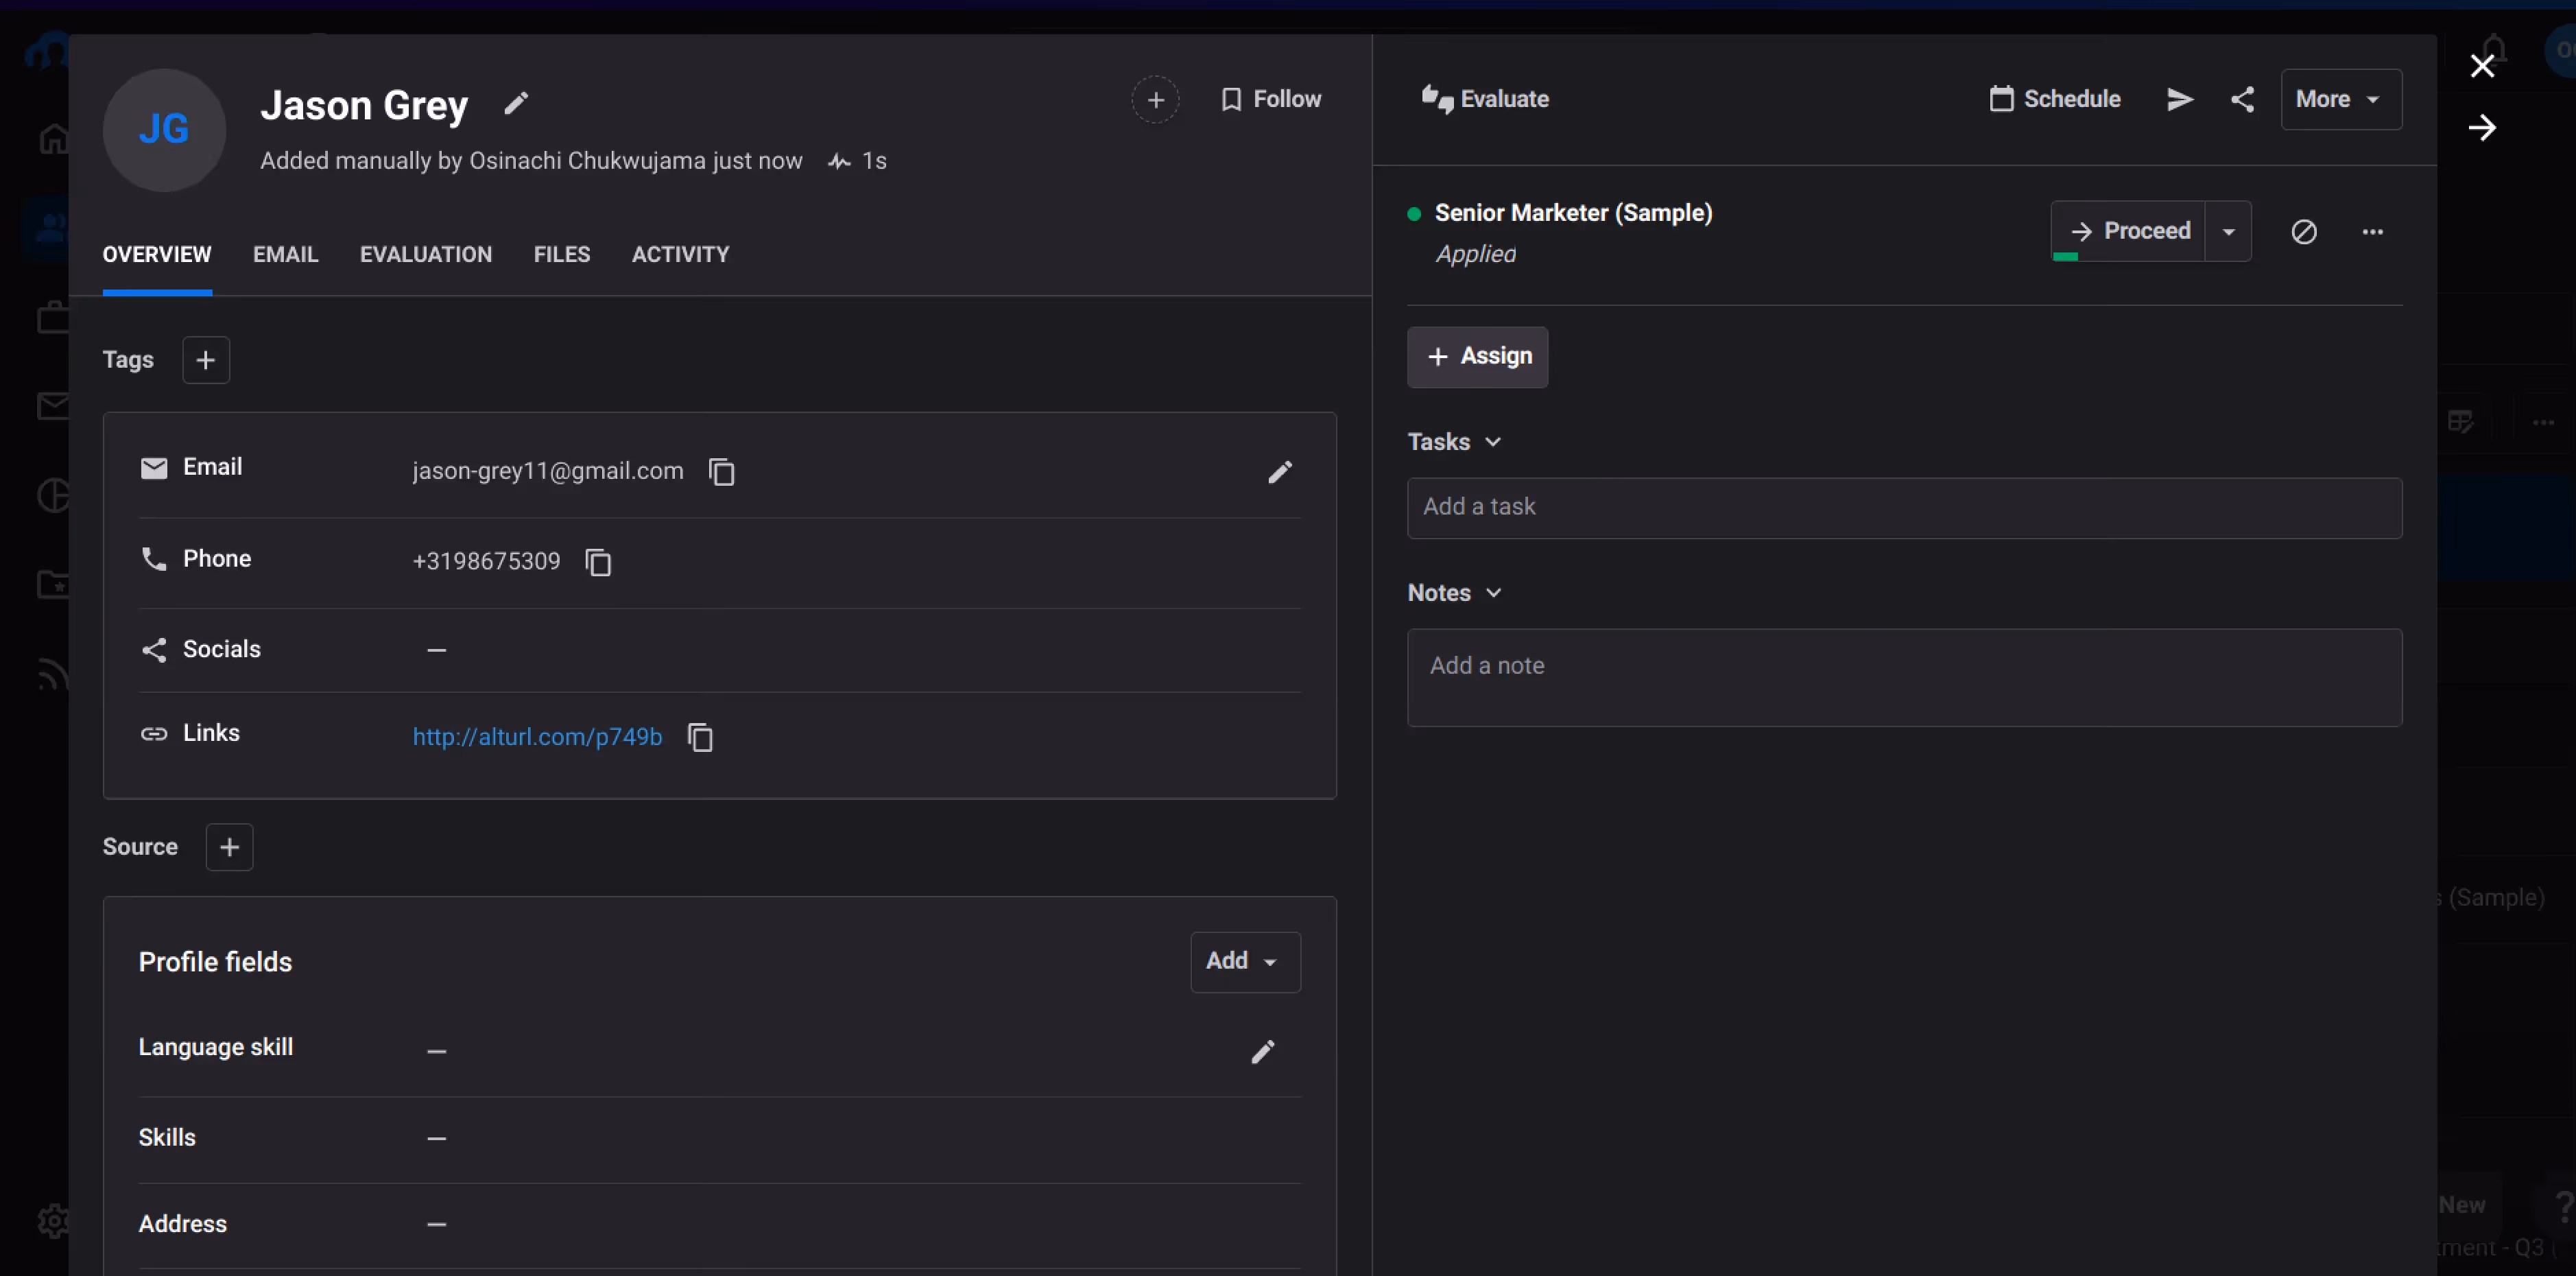
A successful run of the main.py script will add a new candidate to your Workable ATS. If you check your Workable ATS dashboard, you should see an output similar to the image below:
If you wish to add the other platforms, you need to change the account token to BREEZY_ACCOUNT_TOKEN. After setting your desired ATS platform account token, go ahead and run the ids.py script, then copy the application_id and remote_user_id obtained and paste them in the appropriate locations in the main.py file.
If you run the main.py file, you will see the applicant added to the relevant ATS platform dashboard. For example, if you carry out all the steps above for Breezy HR, you should see a new applicant as shown below:
Conclusion
In this article, you learned how you can use Merge to reduce the hassle of consolidating data integration within your organization. You also saw how you could use Merge to simplify adding candidates to several ATSs.
If you want to learn more, check out how Merge has helped other companies integrate not only ATSs but also ticketing, CRM, accounting, file storage, accounting, and HR and payroll systems. And if you'd like to try Merge out, you can sign up for free to get started.