


Figma
Merge lets you securely connect your agents to Figma and thousands of tools instantly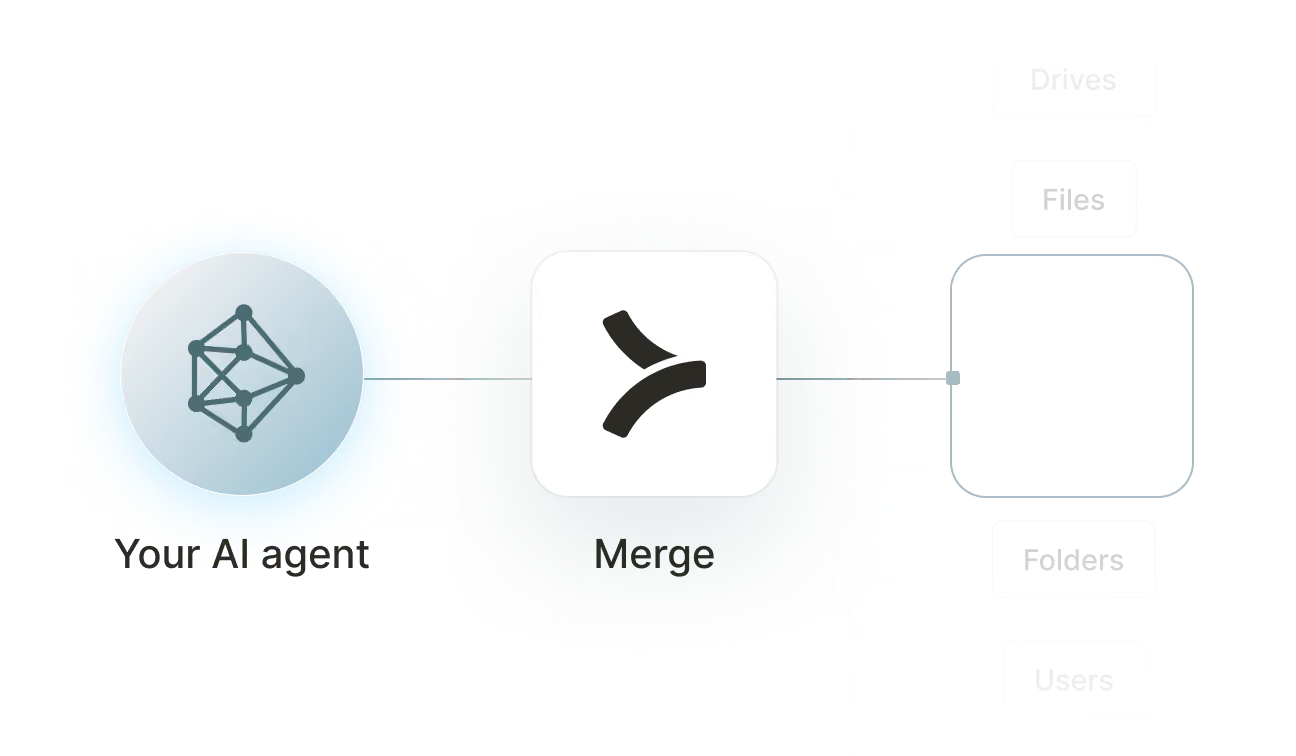

Available tools

How to set upMerge Agent Handler
In an mcp.json file, add the configuration below, and restart Cursor.
Learn more in the official documentation ↗
1{
2  "mcpServers": {
3    "agent-handler": {
4      "url": "https://ah-api-develop.merge.dev/api/v1/tool-packs/{TOOL_PACK_ID}/registered-users/{REGISTERED_USER_ID}/mcp",
5      "headers": {
6        "Authorization": "Bearer yMt*****"
7      }
8    }
9  }
10}
Copy Code
Open your Claude Desktop configuration file and add the server configuration below. You'll also need to restart the application for the changes to take effect.
Make sure Claude is using the Node v20+.
Learn more in the official documentation ↗
1{
2  "mcpServers": {
3    "agent-handler": {
4      "command": "npx",
5      "args": [
6        "-y",
7        "mcp-remote@latest",
8        "https://ah-api-develop.merge.dev/api/v1/tool-packs/{TOOL_PACK_ID}/registered-users/{REGISTERED_USER_ID}/mcp",
9        "--header",
10        "Authorization: Bearer ${AUTH_TOKEN}"
11      ],
12      "env": {
13        "AUTH_TOKEN": "yMt*****"
14      }
15    }
16  }
17}
Copy Code
Open your Windsurf MCP configuration file and add the server configuration below.
Click on the refresh button in the top right of the Manage MCP server page or in the top right of the chat box in the box icon.
Learn more in the official documentation ↗
1{
2    "mcpServers": {
3      "agent-handler": {
4        "command": "npx",
5        "args": [
6          "-y",
7          "mcp-remote@latest",
8          "https://ah-api.merge.dev/api/v1/tool-packs/<tool-pack-id>/registered-users/<registered-user-id>/mcp",
9          "--header",
10          "Authorization: Bearer ${AUTH_TOKEN}"
11        ],
12        "env": {
13          "AUTH_TOKEN": "<ah-production-access-key>"
14        }
15      }
16    }
17  }
Copy Code
In Command Palette (Cmd+Shift+P on macOS, Ctrl+Shift+P on Windows), run "MCP: Open User Configuration".
You can then add the configuration below and press "start" right under servers. Enter the auth token when prompted.
Learn more in the official documentation ↗
1{
2  "inputs": [
3    {
4      "type": "promptString",
5      "id": "agent-handler-auth",
6      "description": "Agent Handler AUTH_TOKEN", // "yMt*****" when prompt
7      "password": true
8    }
9  ],
10  "servers": {
11    "agent-handler": {
12      "type": "stdio",
13      "command": "npx",
14      "args": [
15        "-y",
16        "mcp-remote@latest",
17        "https://ah-api-develop.merge.dev/api/v1/tool-packs/{TOOL_PACK_ID}/registered-users/{REGISTERED_USER_ID}/mcp",
18        "--header",
19        "Authorization: Bearer ${input:agent-handler-auth}"
20      ]
21    }
22  }
23}
Copy Code
FAQ on integrating with Google Drive’s API
Heading

What is a Figma MCP server?
It’s a server that exposes data and functionality from Figma via tools. Agents can use these tools to do anything from posting comments in a Figma file to fetching a specific image from a Figma file.
How can I use the Figma MCP server?
Here are a few common use cases:
- Design-to-development handoff automation: Your agent can sync Figma updates to engineering tools. For example, when a component is marked “Ready for Dev,” it can create a Jira ticket with linked frames, specs, and notify the assigned engineer
- Design system governance: Your agent can detect design system violations in Figma. For instance, it can flag non-standard colors or typography, suggest approved tokens, and log exceptions for design ops review
- Automated design review and QA: Your agent can run pre-review checks on Figma files. For example, it can validate accessibility contrast, spacing consistency, and component usage, and then generate a review summary
- Product documentation generation: Your agent can turn finalized designs into documentation. For instance, it can extract frames and annotations from Figma to automatically update Notion or Confluence docs
- Cross-functional workflow orchestration: Your agent can trigger downstream actions from Figma changes. For example, when a marketing design is approved, it can kick off copy review, legal approval, and CMS implementation tasks
What are popular tools for Figma’s MCP server?
Here are some popular tools across data types.
Comments
- <code class="blog_inline-code">get_comments</code>
- <code class="blog_inline-code">post_comment</code>
- <code class="blog_inline-code">delete_comment</code>
- <code class="blog_inline-code">get_comment_reactions</code>
Projects
- <code class="blog_inline-code">get_team_projects</code>
- <code class="blog_inline-code">get_project_files</code>
Styles
- <code class="blog_inline-code">get_team_styles</code>
- <code class="blog_inline-code">get_file_styles</code>
- <code class="blog_inline-code">get_style</code>
What makes Merge Agent Handler’s Figma MCP server better than alternative Figma MCP servers?
Merge Agent Handler provides platform-level capabilities that apply to any MCP server, including Figma:
- Enterprise-grade security and DLP: All tool inputs and outputs are scanned by a security gateway with configurable Data Loss Protection rules to block, redact, or mask sensitive data
- Managed authentication and credentials: Agent Handler handles OAuth and other authentication flows, removing the need to manage credentials inside your agent logic
- Real-time observability and audit trails: Every tool call is logged with a fully searchable activity log, enabling auditing, debugging, and behavior optimization across agents
- Evaluation Suite: Pressure test the Figma connector with automated evaluations to ensure high-quality, consistent tool call performance across your agents
Can I set custom security rules for Figma tool calls in Merge Agent Handler?
Yes, you can add any number of security rules in a matter of clicks in Merge Agent Handler.
For example, you can:
- Block API keys or authentication tokens from being extracted from Figma design specs or developer handoff notes
- Redact customer names, email addresses, or phone numbers from design mockups and prototype text layers
- Log when agents access files or frames containing terms like "confidential," "unreleased," or "internal only"
- Block your agents from creating or updating Figma components that include sensitive information like employee data, financial figures, or proprietary designs
How can I start using Merge Agent Handler’s Figma MCP server?
How can I start using Merge Agent Handler's Figma MCP server?
1. Sign up for Merge Agent Handler. Create a free account to gain access to the dashboard.
2. Create a Tool Pack. Navigate to "Tool Packs" in the sidebar and create a new Tool Pack. This is the container for your Figma connector and any other tools you want to make available.
3. Add the Figma connector. Within your Tool Pack, add Figma from the available connectors list.
4. Configure authentication. Set up OAuth for Figma to enable secure access to your design files and workspaces.
5. Select specific tools. Choose which Figma tools you want to make available to your agent, or enable all tools by default.
6. Register a User. Navigate to "Registered Users" in the sidebar and create a new registered user. This represents the identity that will perform actions through your agent.
7. Save your Tool Pack. Review and save all your Tool Pack settings.
8. Connect to your agent or IDE. Copy the MCP entry URL from your Tool Pack settings. The URL format will be:
https://ah-api.merge.dev/api/v1/tool-packs/{TOOL_PACK_ID}/registered-users/{REGISTERED_USER_ID}/mcp
10. Then add it to your IDE or agent configuration.
Can employees use Merge Agent Handler to connect their AI tools to Figma?
Yes, Agent Handler for Employees lets your employees connect Claude, ChatGPT, Microsoft Copilot, Cursor, and other MCP-compatible AI tools to Figma without bypassing IT governance.
Instead of setting up direct connections with personal credentials that IT can't monitor or revoke, each employee authenticates through Agent Handler and gets individual credentials tied to their identity.
IT also provisions access by role or group via SCIM. A designer, for example, gets Figma access to manage design files and components, Slack to share updates and collect feedback, and Jira to link designs to product tickets; while a product manager gets Figma access to review mockups and prototypes, Jira to track feature progress, and Confluence to document design decisions.
Every tool call an employee's AI makes to Figma is also inspected against your DLP rules and logged to a searchable audit trail, giving security teams full visibility into what data was accessed and by whom.

























Ready to try it out?
Whether you're an engineer experimenting with agents or a product manager looking to add tools, you can get started for free now
