


Expensify
Merge lets you securely connect your agents to Expensify and thousands of tools instantly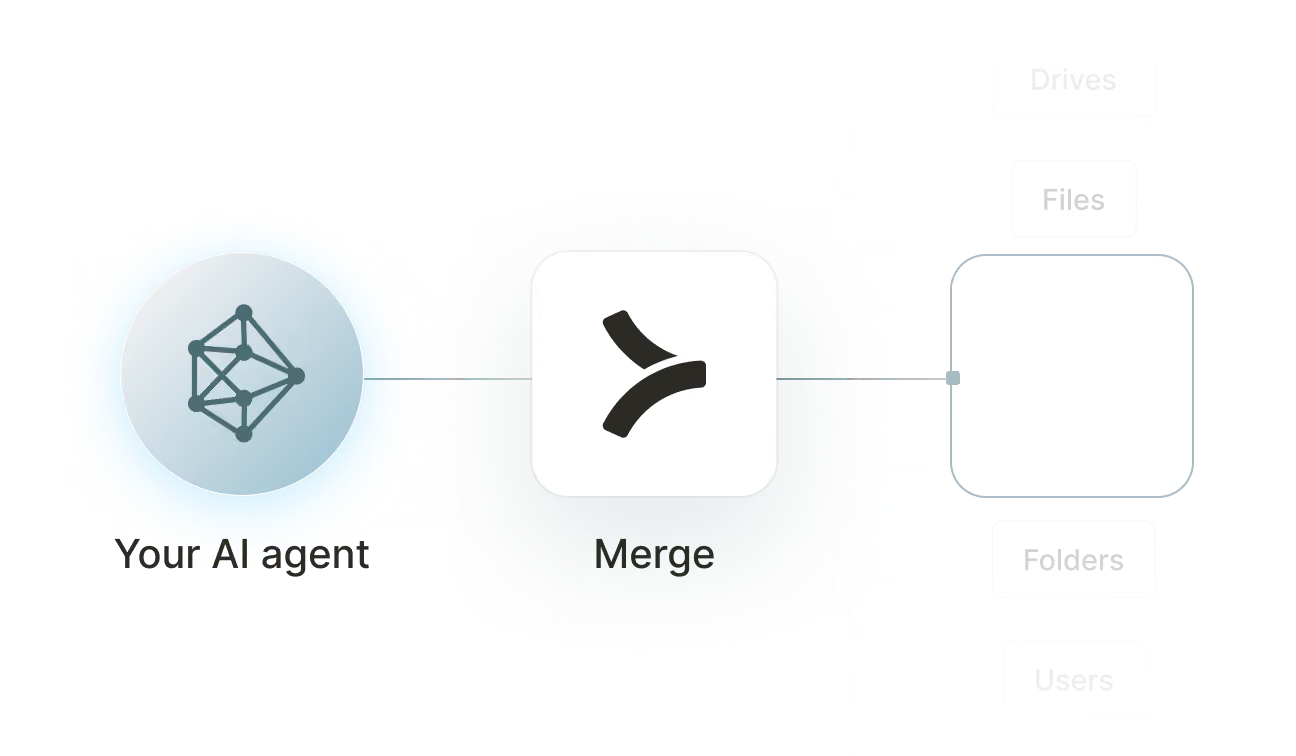

Available tools

How to set upMerge Agent Handler
In an mcp.json file, add the configuration below, and restart Cursor.
Learn more in the official documentation ↗
1{
2  "mcpServers": {
3    "agent-handler": {
4      "url": "https://ah-api-develop.merge.dev/api/v1/tool-packs/{TOOL_PACK_ID}/registered-users/{REGISTERED_USER_ID}/mcp",
5      "headers": {
6        "Authorization": "Bearer yMt*****"
7      }
8    }
9  }
10}
Copy Code
Open your Claude Desktop configuration file and add the server configuration below. You'll also need to restart the application for the changes to take effect.
Make sure Claude is using the Node v20+.
Learn more in the official documentation ↗
1{
2  "mcpServers": {
3    "agent-handler": {
4      "command": "npx",
5      "args": [
6        "-y",
7        "mcp-remote@latest",
8        "https://ah-api-develop.merge.dev/api/v1/tool-packs/{TOOL_PACK_ID}/registered-users/{REGISTERED_USER_ID}/mcp",
9        "--header",
10        "Authorization: Bearer ${AUTH_TOKEN}"
11      ],
12      "env": {
13        "AUTH_TOKEN": "yMt*****"
14      }
15    }
16  }
17}
Copy Code
Open your Windsurf MCP configuration file and add the server configuration below.
Click on the refresh button in the top right of the Manage MCP server page or in the top right of the chat box in the box icon.
Learn more in the official documentation ↗
1{
2    "mcpServers": {
3      "agent-handler": {
4        "command": "npx",
5        "args": [
6          "-y",
7          "mcp-remote@latest",
8          "https://ah-api.merge.dev/api/v1/tool-packs/<tool-pack-id>/registered-users/<registered-user-id>/mcp",
9          "--header",
10          "Authorization: Bearer ${AUTH_TOKEN}"
11        ],
12        "env": {
13          "AUTH_TOKEN": "<ah-production-access-key>"
14        }
15      }
16    }
17  }
Copy Code
In Command Palette (Cmd+Shift+P on macOS, Ctrl+Shift+P on Windows), run "MCP: Open User Configuration".
You can then add the configuration below and press "start" right under servers. Enter the auth token when prompted.
Learn more in the official documentation ↗
1{
2  "inputs": [
3    {
4      "type": "promptString",
5      "id": "agent-handler-auth",
6      "description": "Agent Handler AUTH_TOKEN", // "yMt*****" when prompt
7      "password": true
8    }
9  ],
10  "servers": {
11    "agent-handler": {
12      "type": "stdio",
13      "command": "npx",
14      "args": [
15        "-y",
16        "mcp-remote@latest",
17        "https://ah-api-develop.merge.dev/api/v1/tool-packs/{TOOL_PACK_ID}/registered-users/{REGISTERED_USER_ID}/mcp",
18        "--header",
19        "Authorization: Bearer ${input:agent-handler-auth}"
20      ]
21    }
22  }
23}
Copy Code
FAQ on integrating with Google Drive’s API
Heading

What is an Expensify MCP?
It's an MCP server that lets your agents access data and functionality from Expensify via tools. Your agents can invoke these tools to pull expense reports, submit expenses, reconcile corporate card transactions, manage spend policies, and more.
Expensify doesn't offer an official MCP server, but you can use one from a third-party platform, like Merge Agent Handler.
How can I use the Expensify MCP server?
The use cases naturally depend on the agent you've built, but here are a few common ones:
- Automated expense submission. When a sales rep logs a client dinner in your CRM or books travel through a third-party tool, your agent can automatically create the corresponding expense in Expensify, categorize it against the right policy, and attach it to the relevant report
- Corporate card reconciliation. On a nightly or weekly schedule, your agent can export card transactions, cross-reference them against submitted reports, and flag any unmatched charges for finance team review before month-end close
- Policy compliance checks. When a new report is created, your agent can retrieve the applicable spend policy, validate each line item against category limits and approval thresholds, and surface violations before the report reaches an approver
- Finance reporting to stakeholders. Your agent can pull expense reports across teams or cost centers on a recurring cadence, aggregate spend by category, and post a formatted summary to a Slack channel or Google Sheet for leadership review
What are popular tools for Expensify's MCP server?
Here are some of the most commonly used tools:
<code class="blog_inline-code">export_reports</code>: retrieves expense reports from Expensify filtered by date range, employee, or policy — the primary tool for reconciliation agents and finance summary workflows
<code class="blog_inline-code">create_expenses</code>: submits one or more expense line items to an existing report, used when agents need to log expenses automatically based on an external trigger
<code class="blog_inline-code">export_card_transactions</code>: pulls corporate card transaction data for a given domain and date range, enabling agents to identify unreconciled charges or flag out-of-policy spend
<code class="blog_inline-code">create_report</code>: opens a new expense report under a specified policy, useful when agents need to group expenses into a fresh report before submitting for approval
<code class="blog_inline-code">update_report_status</code>: advances or reverts a report's status in the approval workflow, allowing agents to programmatically submit, approve, or reopen reports based on business logic
<code class="blog_inline-code">list_policies</code>: returns all spend policies available in the account, giving agents the context they need to validate expenses or assign new reports to the correct policy
What makes Merge Agent Handler's Expensify MCP server better than alternative Expensify MCP servers?
Here are just a few reasons:
- Enterprise-grade security and DLP. Merge Agent Handler lets you define data loss prevention rules that block or redact specific fields before they reach your agent. For Expensify, that means employee expense details, reimbursement amounts, and card numbers can be filtered out at the tool layer, even if the agent has broad read permissions
- Managed authentication and credentials. Merge stores your Expensify partner credentials and handles all token management. You never pass raw API keys to an agent or coordinate credential rotation when keys expire
- Real-time observability and audit trail. Each Expensify tool call is recorded with a full log: timestamp, tool name, parameters sent, and response received. Finance and compliance teams can review exactly what the agent accessed or modified, without any additional instrumentation
- Tool Packs and controlled access. Tool Packs let you scope an agent's access to only the Expensify tools it actually needs. A reconciliation agent gets export tools. An approval agent gets status update tools. Neither has access to tools outside its defined scope
How can I start using Merge Agent Handler's Expensify MCP server?
You can take the following steps:
1. Create your Merge Agent Handler account and navigate to Tool Packs.
2. Create a new Tool Pack, then find and enable the Expensify connector. Choose which tools to include — enable read tools for reporting and reconciliation workflows, or add write tools like create_expenses and update_report_status if your agent needs to create or modify data.
3. Add a Registered User inside the Tool Pack. This is the identity context under which your agent operates. Merge generates a unique MCP URL scoped to this user once it's created.
4. From the Registered User detail page, authenticate Expensify by completing the credential flow. Merge stores and manages the credentials going forward.
5. Copy the MCP URL from the Tool Pack detail page and generate an API key from Settings. You'll need both to connect your agent.
6. Add the MCP server to your agent or IDE using the MCP URL and API key. Your Expensify tools will now be accessible through that endpoint.
Can employees use Merge Agent Handler to connect their AI tools to Expensify?
Yes, Agent Handler for Employees lets your employees connect Claude, ChatGPT, Microsoft Copilot, Cursor, and other MCP-compatible AI tools to Expensify without bypassing IT governance.
Instead of setting up direct connections with personal credentials that IT can't monitor or revoke, each employee authenticates through Agent Handler and gets individual credentials tied to their identity.
IT also provisions access by role or group via SCIM. A finance analyst, for example, can access Expensify to reconcile expenses and review reports, NetSuite to close books and track spend, and Google Sheets to report on budget vs. actuals; while a sales rep can leverage Expensify to submit and track travel expenses, Salesforce to manage pipeline and accounts, and Gmail to handle customer outreach.
Every tool call an employee's AI makes to Expensify is also inspected against your DLP rules and logged to a searchable audit trail, giving security teams full visibility into what data was accessed and by whom.

























Ready to try it out?
Whether you're an engineer experimenting with agents or a product manager looking to add tools, you can get started for free now
