How to create tasks in Asana via the Asana API in Python

Asana, one of the most popular project management tools on the market, makes it easy to manage and collaborate on projects of all scales across platforms. It's not only easy to learn and use; it also offers integrations with a wide range of third-party tools and services.
Despite all these integrations, you still might need to access tasks and other data via APIs. For example, you might be building a custom integration, want to connect Asana with internal apps or tools, or set up custom automations. The Asana API can help you in these cases.
In this tutorial, you'll learn how to use the Asana API to create new tasks and fetch all available tasks programmatically using a Python script. The complete code for this tutorial is available in this GitHub repo.
Prerequisites
To follow along with this tutorial, you'll need a local installation of Python and an Asana account.
Create a New Python Script
The first step is to create a new Python script file by running the following command:
Alternatively, you can use any editor of your choice to create the file.
You also need to create an input.csv file to store the details of the tasks that the script will create in Asana. Use the following data for now:
Each row on the CSV file above contains the following information:
- Task name (e.g., Purchase Ingredients)
- Task notes (e.g., Purchase the ingredients required to make coffee)
- Due On date (e.g., 2023-01-10)
You can add any other attributes to your Asana tasks using the API, but for the sake of brevity, this tutorial uses only the attributes above.
Related: The 7 steps for creating your access token in Asana
Handle Asana API Authentication
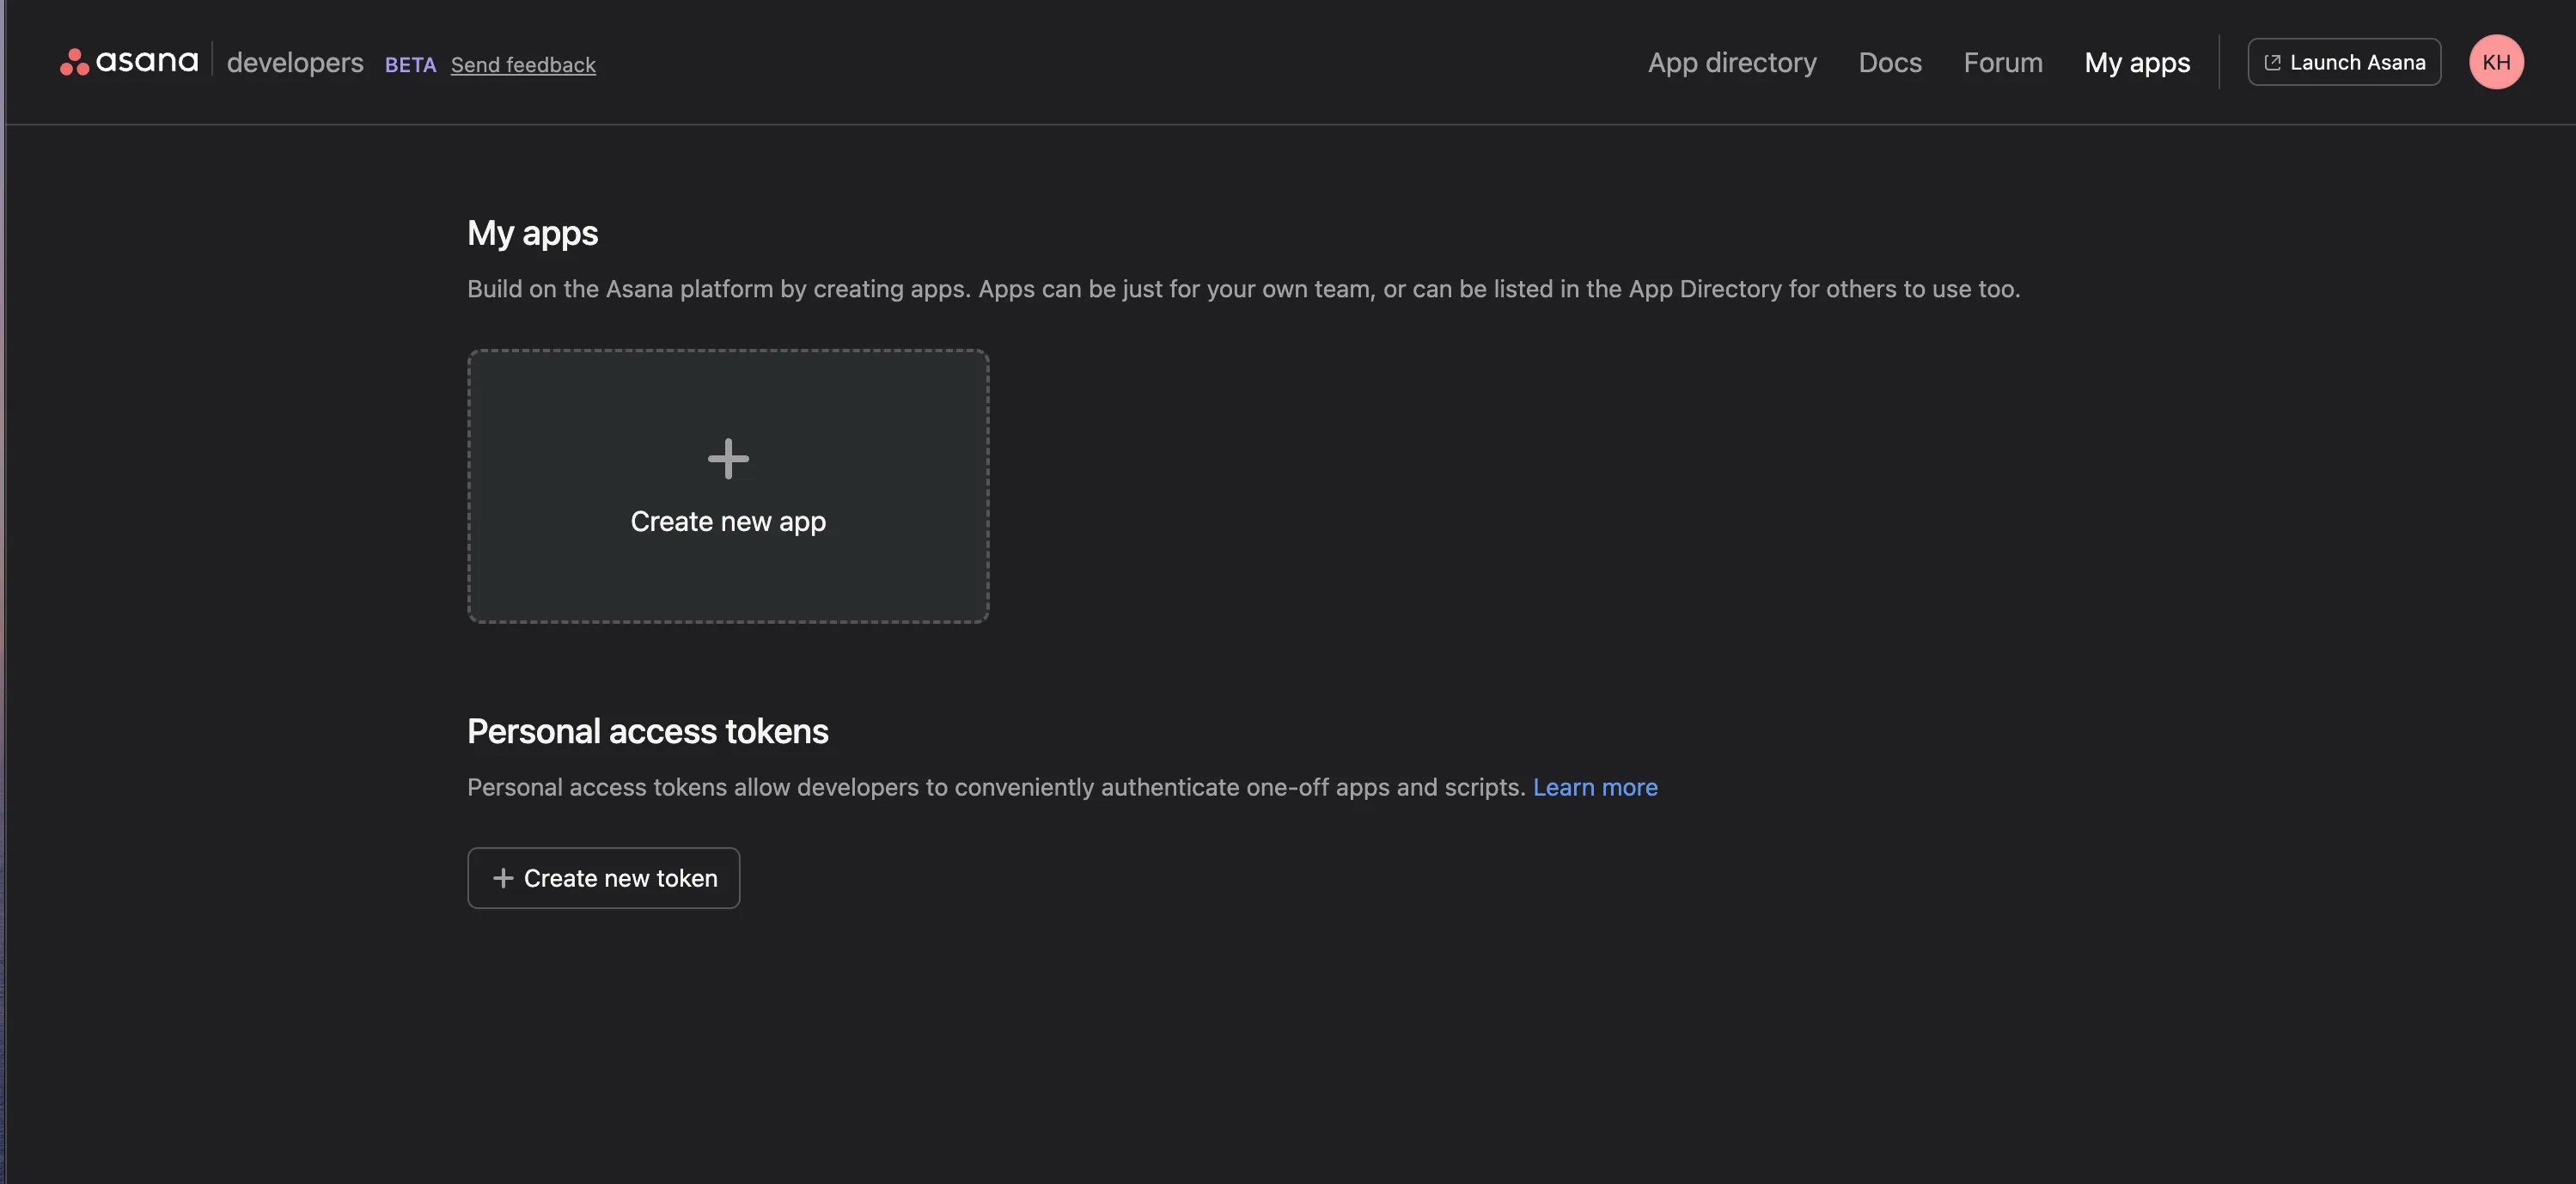
To interact with the Asana API, you must generate a personal access token. Generating one is simple:
- Navigate to the developer console.
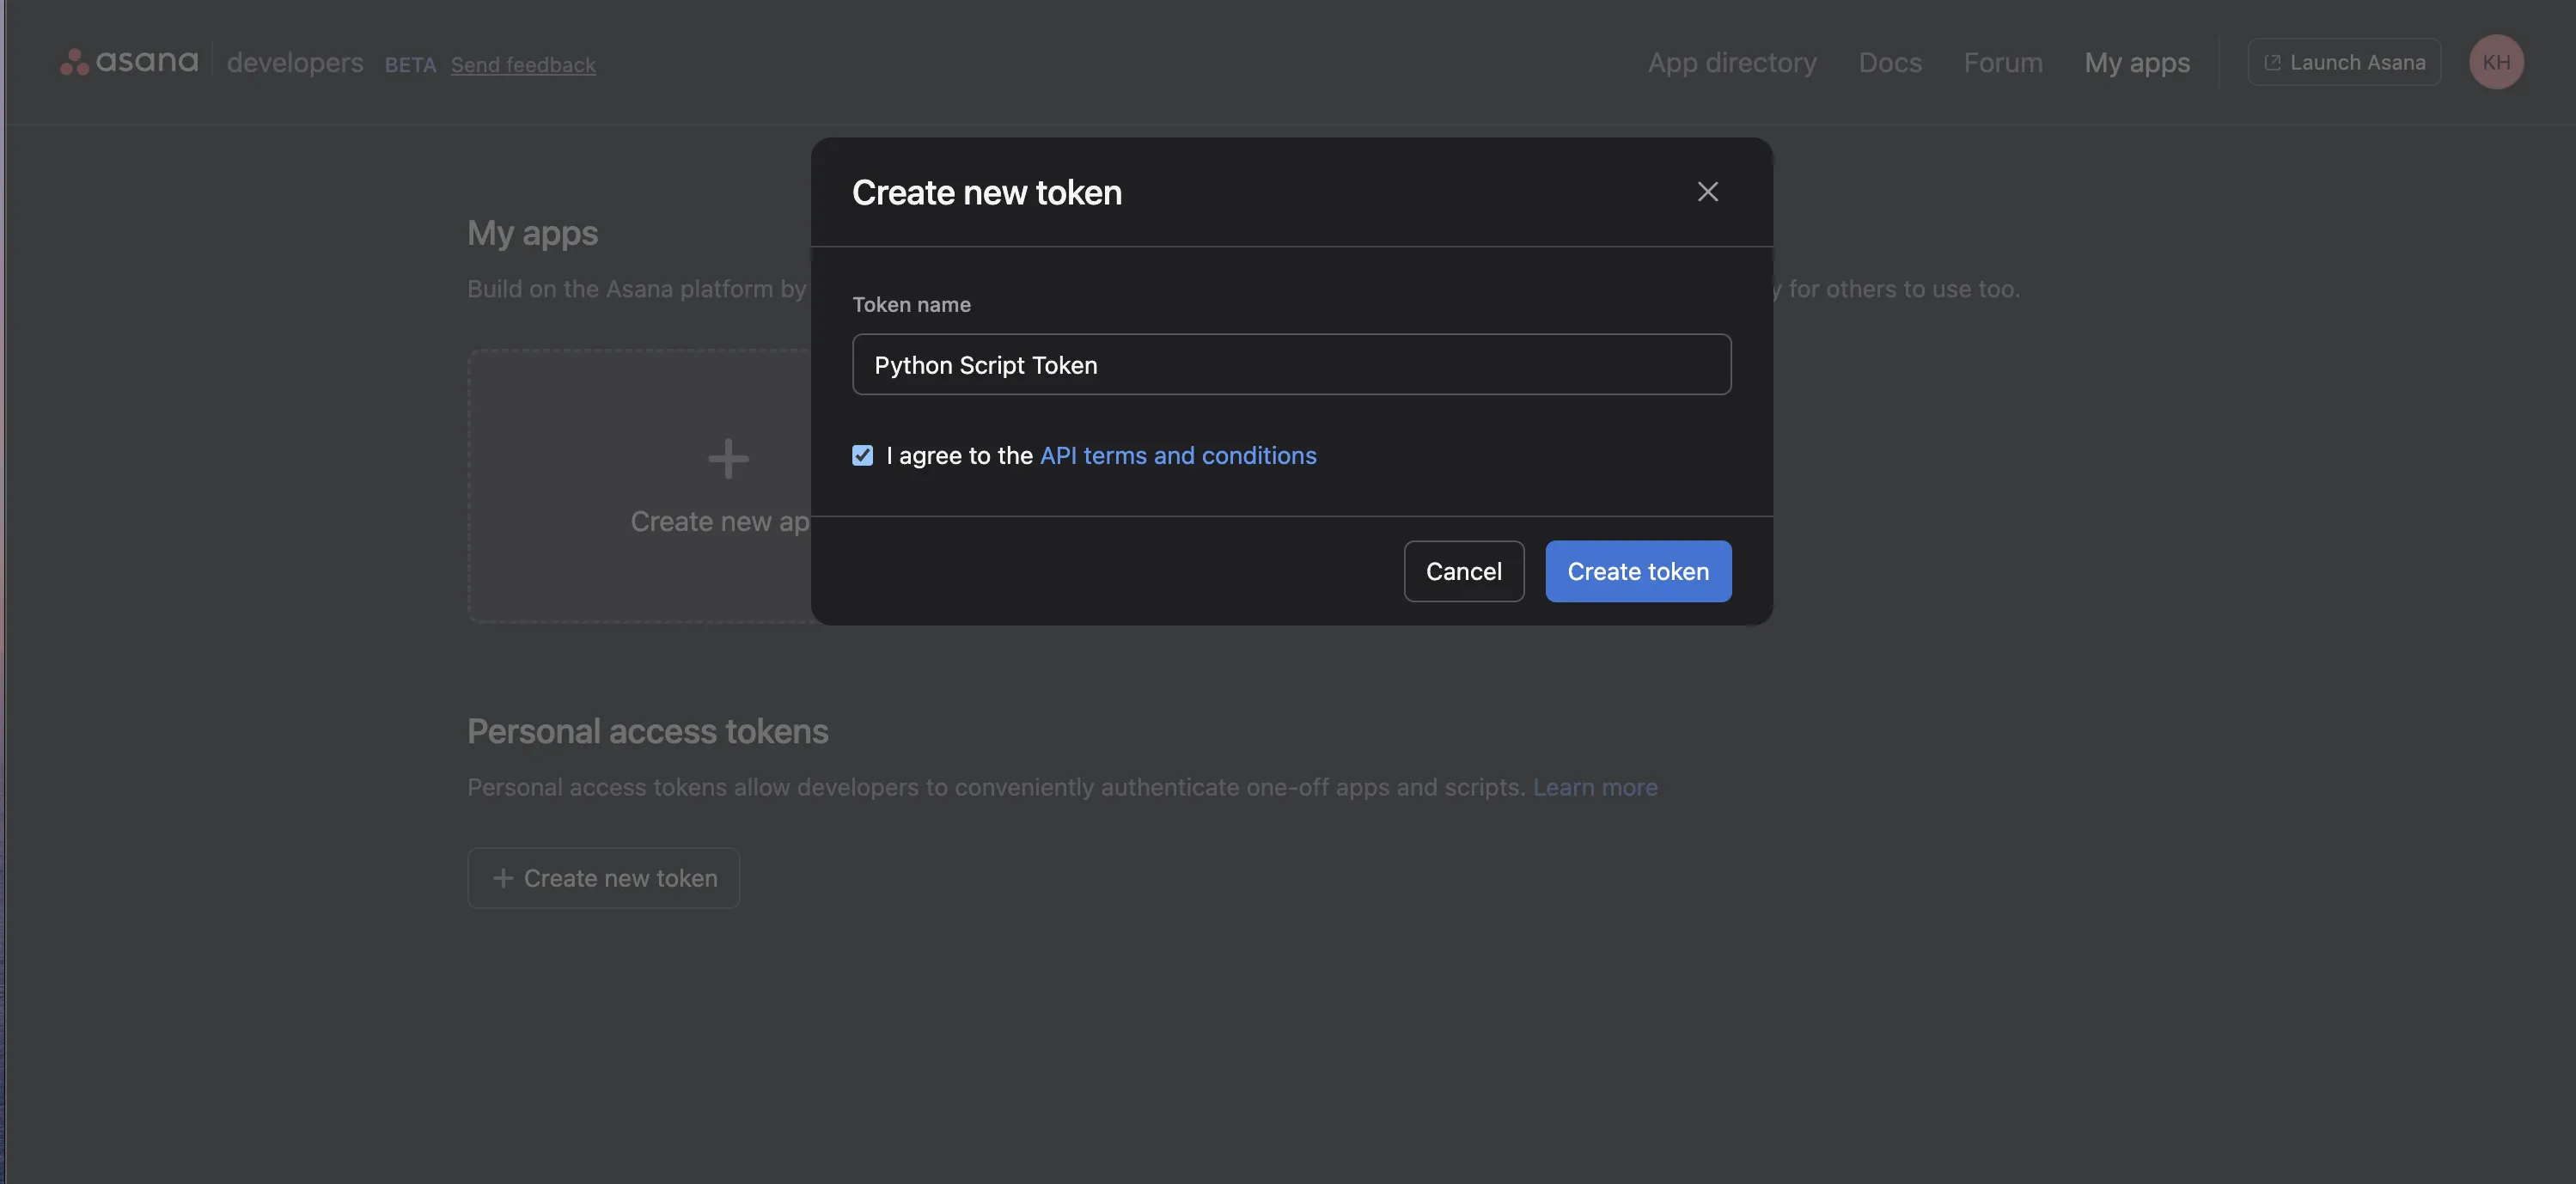
- Click on the Create new token button.

- Enter a description for the token and click on the Create token button.

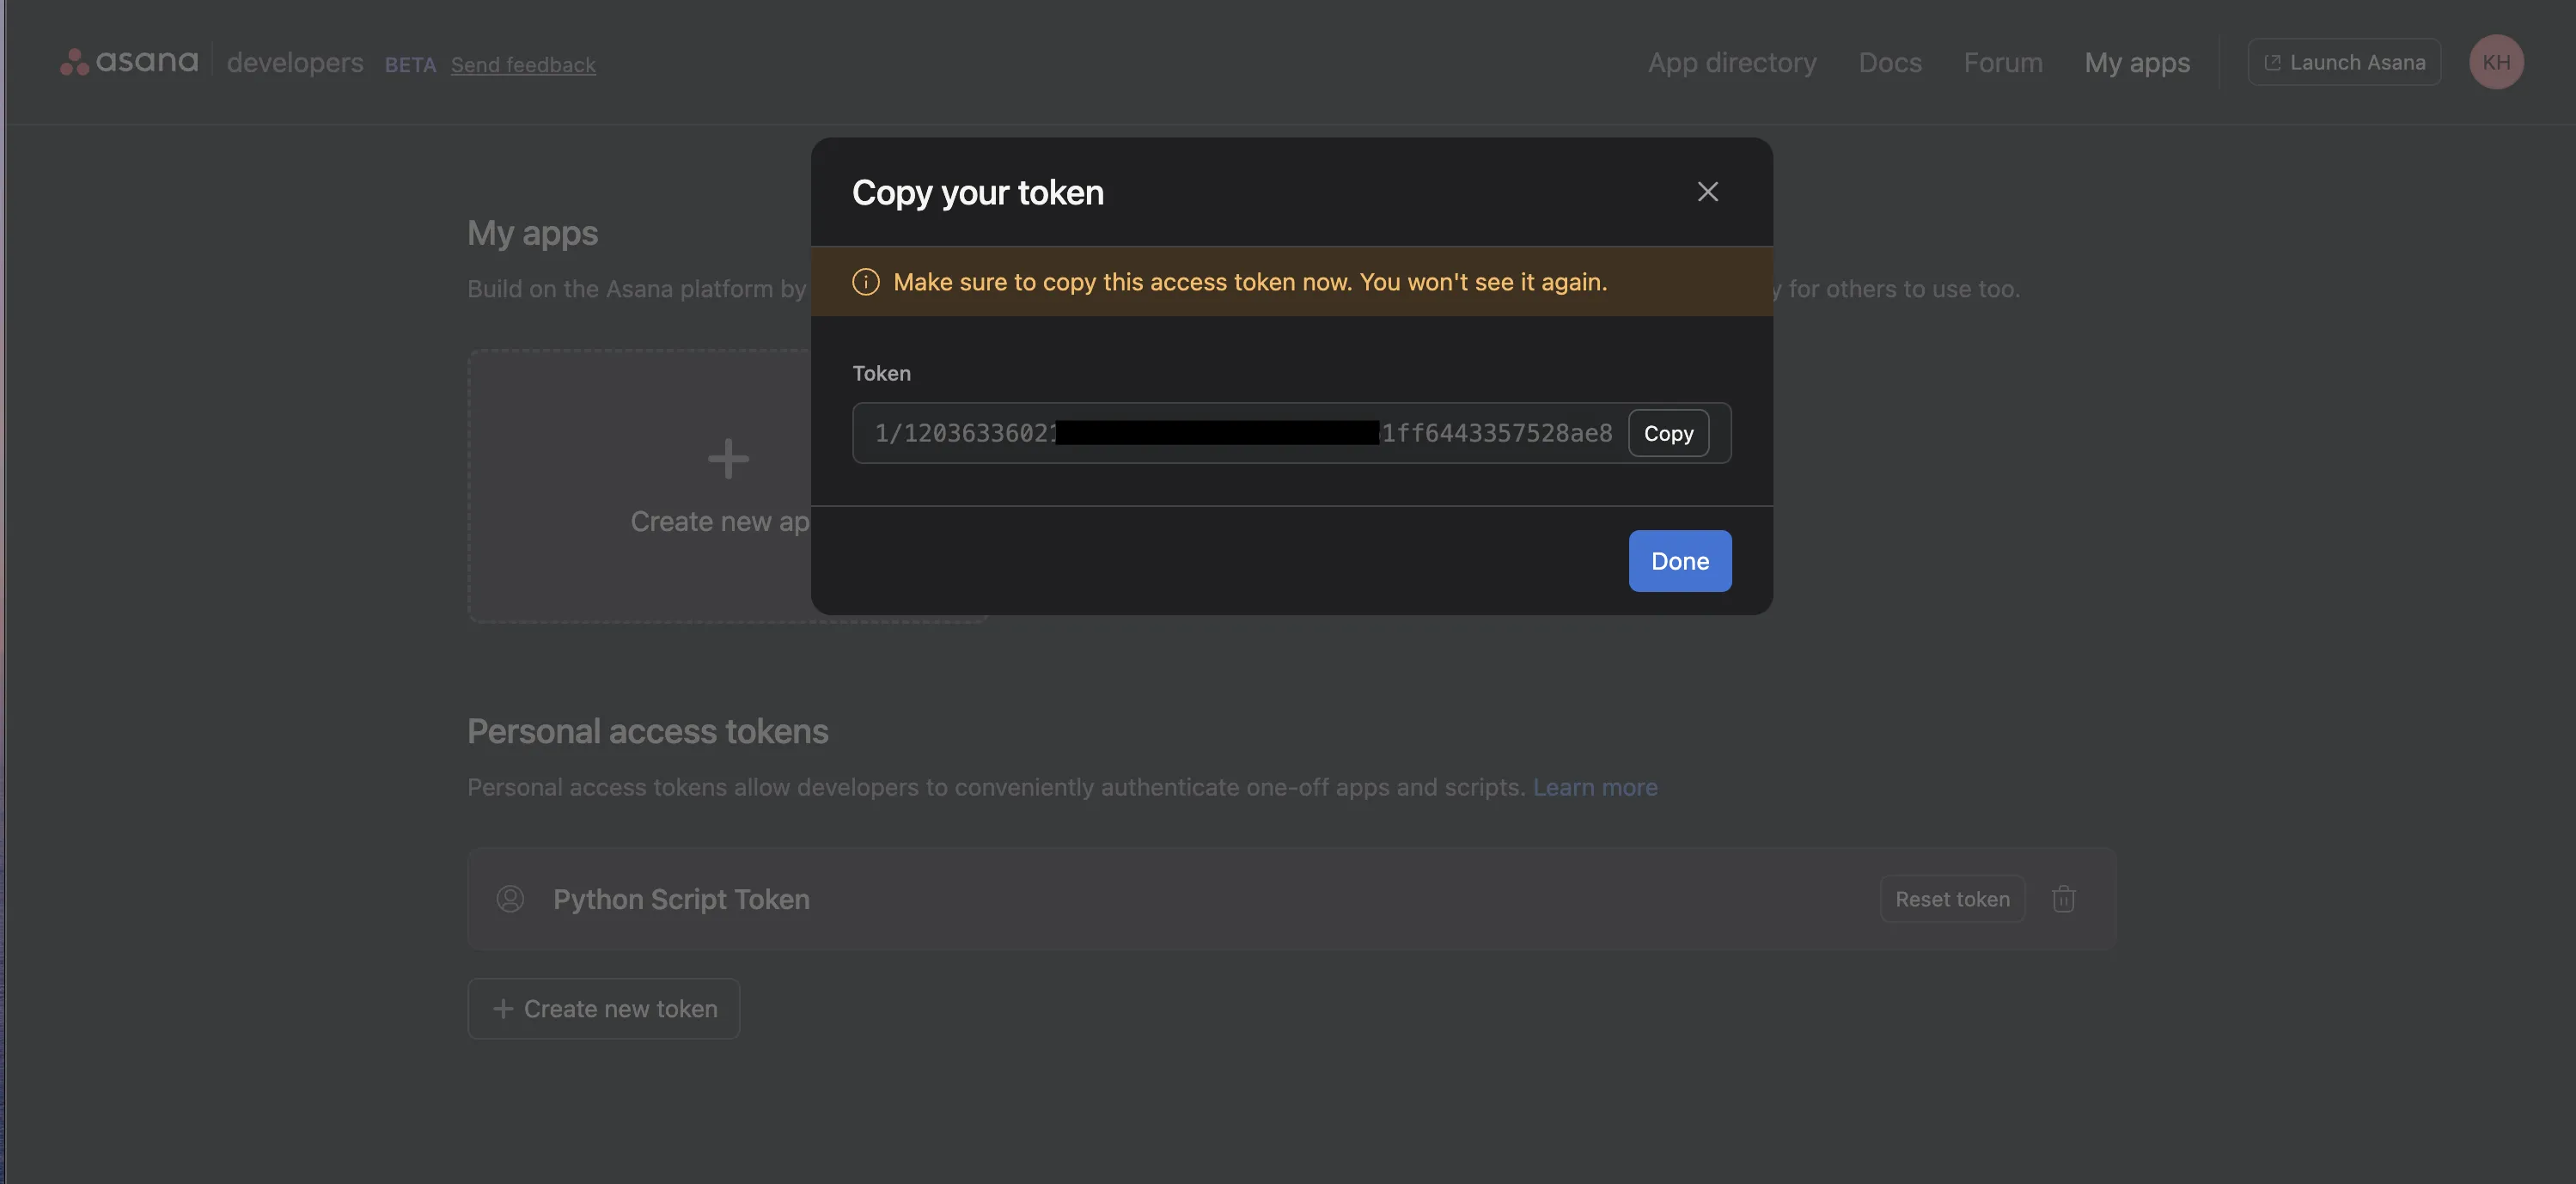
- Asana will show you the token's value. Copy and store it safely as you will not be able to see this token again. You can always create a new token, but each token will be visible to you only once right after you create it.

To use the token in your script, create a variable and store the token's value in it.
You'll now see how to use this token to authenticate a simple request to the Asana API that fetches your user details.
Install pip install requests and import the requests package in your script:
Next, define a few constants that you'll use in your requests:
Finally, write the request to fetch your own details:
The result should look like this:
It signifies that you have correctly set up authentication in your code for the Asana API.
Before continuing, you need to take care of one more thing. When creating tasks in Asana, you must associate them with a workspace, project, or a parent task. When fetching tasks from Asana, you need to specify either a project, tag, or a combination of workspace and assignee to filter the tasks before retrieving them.
To keep things simple, you'll use the default workspace and your own user ID as assignee with which to associate your tasks. The request that you created earlier in this tutorial fetched both of these details. All you now need to do is to wrap the request into a method and have it return only the two IDs you need. Here's what the method looks like:
At this point, your script.py file should look like this:
Create Tasks in Asana
Now you're ready to write the function that will create new tasks in Asana. To allow bulk task creation, you'll take input from the CSV file as described earlier and create a task for each row of the file:
The code is fairly simple to understand. You start by fetching the workspace and assignee IDs using the function you created earlier. Next, you open the input file and process each of its rows individually. For each row, you create a data object and send a request to the Asana API with the data object attached. Lastly, you print the result of the request.
You'll receive the details of the newly created tasks in response to your request. Here's what it will look like:
Fetch Tasks from Asana
Next, you'll fetch the tasks you created by creating another function:
This code is also straightforward. You're fetching the workspace and assignee IDs first. Then, you're making a request to the Asana API to fetch all tasks associated with the given workspace and assignee. Finally, you're counting the number of tasks and printing their details.
Here's how the output should look:
You can find the complete code for this tutorial here.
Final Thoughts
While the Asana platform offers a robust UI to manage your tasks, there might be situations where you'd want programmatic access to your tasks to set up automations. The Asana API can come in handy in such cases.
As this tutorial showed, the Asana API is straightforward to use for simple use cases. However, figuring out configurations and maintaining them over time can be challenging. This is where Merge can help.
Merge offers a single API to integrate numerous products and services with your app easily. It lets you connect with numerous HRIS, ATS, accounting, CRM, and ticketing APIs, including Asana. If you're a B2B company, you'll love the power and simplicity that Merge will bring to your third-party tool integrations.


.png)
.png)
