
Table of contents
Just for you
How to add users with the Okta SCIM API


Okta SCIM is a popular directory and system for cross-domain identity management (SCIM) software that provides extensive REST APIs for managing user operations like creating, reading, updating, and deleting users.
Integrating Okta with existing systems is a treat for developers because of its API-first architecture and its support for all popular languages, with more than a dozen language-specific SDKs.
This article illustrates how to integrate with the Okta API in Python. You'll learn how to set up a basic Okta integration by authenticating with the API and then creating and reading users in a Python application.
The source code for this tutorial can be found in this GitHub repo.
Prerequisites
Since you'll be using Python to interact with the Okta API in this tutorial, make sure you have a recent version of Python working on your device.
Set Up an Okta Developer Account
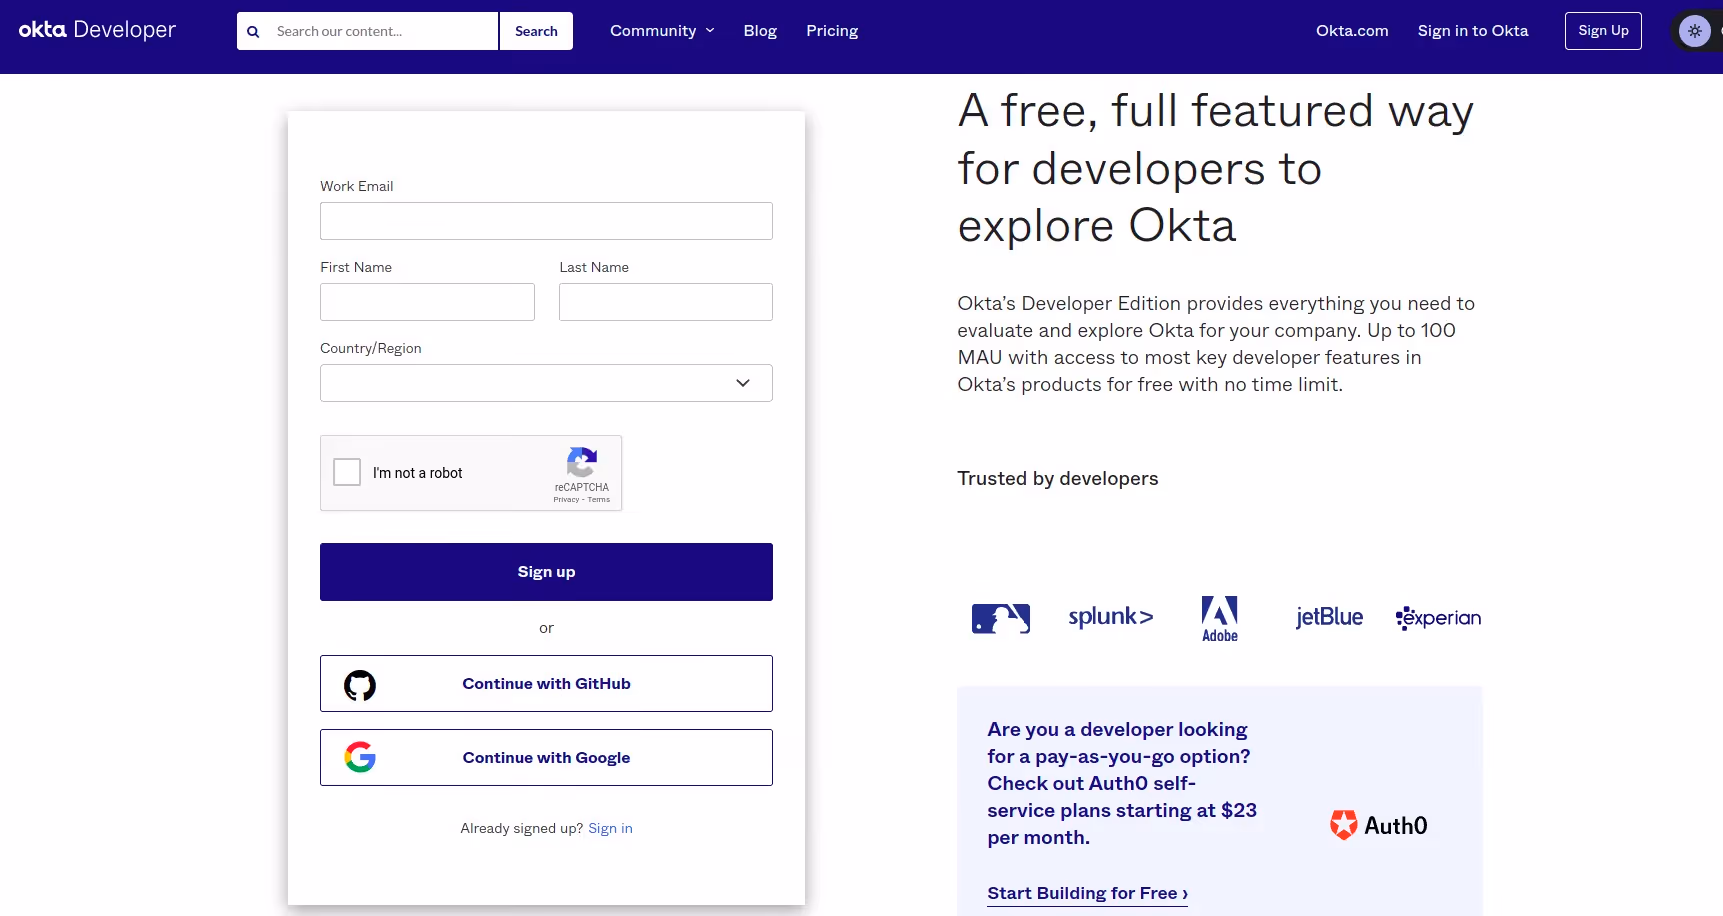
Before you can begin, you need to create an Okta developer account. It's free to use and allows you to explore Okta's features.
Head to the developer sign-up page to create your developer account. You can create a new account or use your Google or GitHub account to sign up.
Create Okta API Tokens
To access the Okta User APIs to manage users in Python, you first need to create an API token that allows access to these REST endpoints.
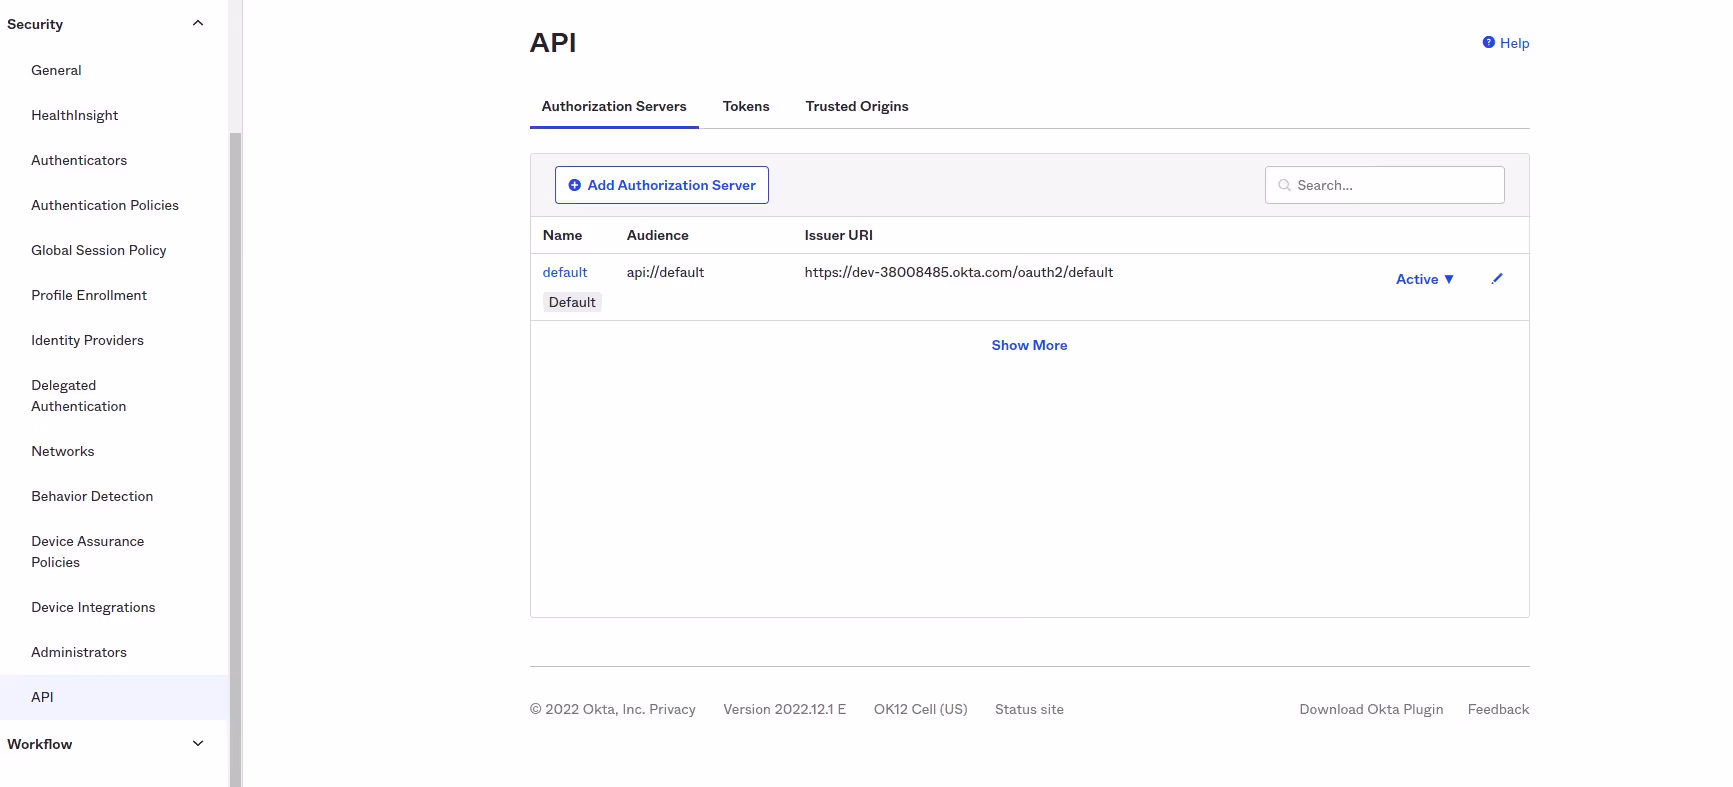
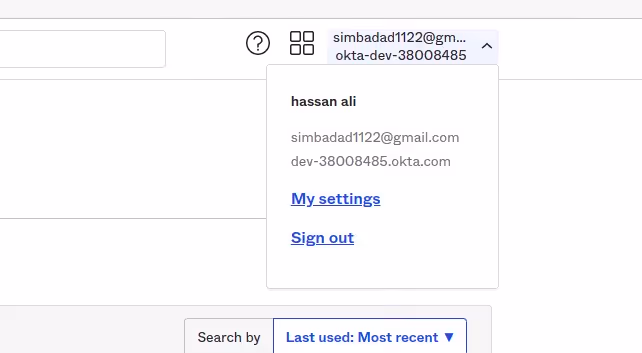
Sign in to your Okta Developer account. In the Okta Admin Console, expand the Security tab on the left and click on API.
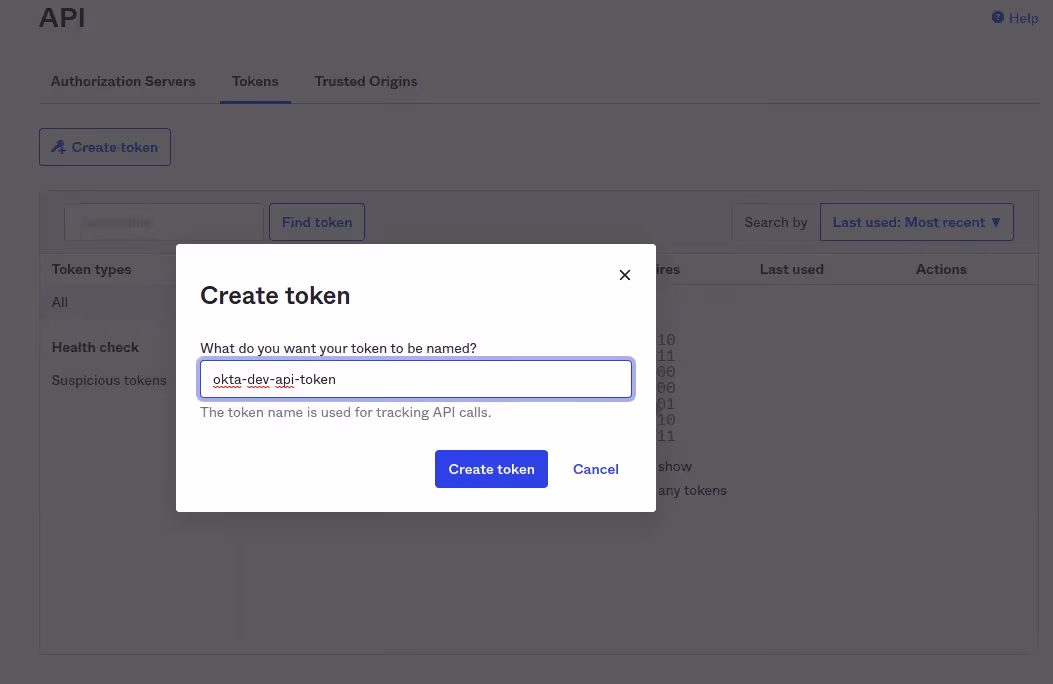
Click on the Tokens tab and then on Create token. Provide a suitable token name.
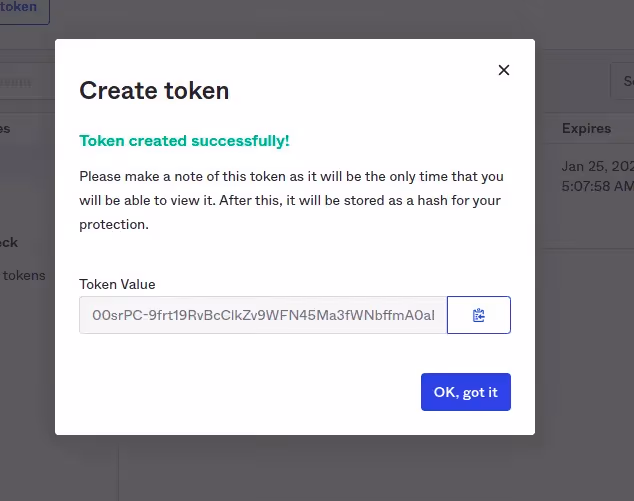
Your API token is now created. Copy the token value and save it in a file or environment variable on your system since you'll need this value to access the APIs.
Create Users with Okta's User API
Okta's User API provides different user-related operations for creating, getting, listing, and updating users that you can use to manage your organization's users.
When it comes to creating users, the User API allows you to use different operations to create users with different sets of attributes. The options available are as follows:
- Create User without Credentials
- Create User with Recovery Question
- Create User with Password
- Create User with Imported Hashed Password
- Create User with Password Import Inline Hook
- Create User with Password & Recovery Question
- Create User with Authentication Provider
- Create User in Group
- Create User with Non-Default User Type
You can read more about how to make requests to each of them in the Okta documentation.
To create a user, first open your favorite text editor and create a Python file. Name it create_users.py.
Install the requests module in Python, which you'll use to make HTTP requests:
Create two variables, <code class="blog_inline-code">api_token</code> and <code class="blog_inline-code">domain</code>, which are required when making requests to Okta APIs. Assign the token value you saved earlier to the <code class="blog_inline-code">api_token variable</code>. Copy the domain value from the Okta developer account's admin console and assign it to the domain variable:
Here's the code for the above:
Now that you have the API token and domain values, you can make requests to the Okta User API to create users.
After creating the required API token and domain variables, it's time to create the headers object. The headers object below specifies some custom headers that are needed to be passed for making the POST request to create a user. The <code class="blog_inline-code">authorization SSWS token</code> header is mandatory because Okta API uses it to authenticate an incoming request:
Next, you need to create the body object that is passed in the POST request. The body object below specifies different profile attributes for the user you'll create. The credentials object is used to specify the password for the newly created user. The <code class="blog_inline-code">activate=true</code> query parameter specifies that the newly created user is also marked as active:
The code block below has you making a POST request to <code class="blog_inline-code">/users</code> to create a new user. It uses the domain variable specified earlier, and the headers and body objects are passed with the request:
The entire code is as follows:
Execute the code by running the following command in your terminal:
On successfully executing the code, you'll get the following output:

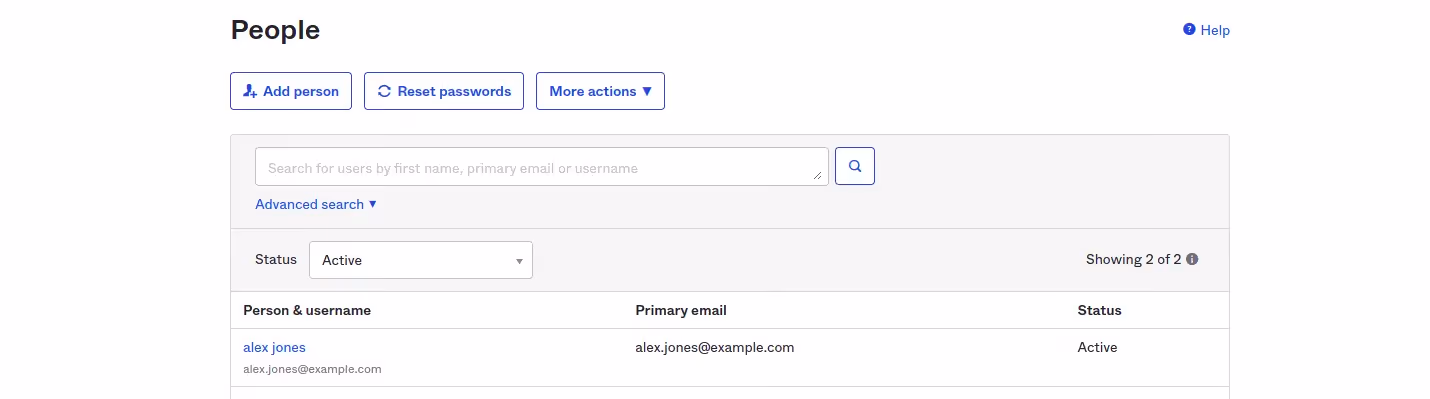
You can verify whether the user has been successfully created in the Okta Admin Console by going to Directory > People:
Retrieve User Data with Okta's User API
You can also use the Okta User API to get a user's data. You can get a list of all the users or retrieve a single user. The Get User resource provides a list of operations to retrieve a single user's data with any of the following resources:
- Get Current User
- Get a User with an ID
- Get User with Login
- Get User with Login Shortname
You can read more about these in the Okta documentation.
As you did before, create a Python file and call it get_user.py.
You'll again need to use the api_token and domain variables that you created previously.
The following code block shows how to get a user's data using the user login:
In the code above, /user/login returns the user data for the given login query parameter. Unlike the POST request, there is no body parameter to be passed for making a GET request.
Run the following command to execute the code:
Once the code is successfully executed, you should get the following response object:
Similarly to using the Get User operation to retrieve a single user's data, you can use the <code class="blog_inline-code">"https://{domain}/api/v1/users"</code> endpoint of the Okta User API to retrieve all users. The list user endpoint searches for users with user properties specified in the search query parameter.
You can read more about filtering users with search parameters in the Okta documentation.
Conclusion
In this article, you learned how to access Okta APIs via API tokens to create new users and get user details in Python.
Okta's User API lets you create users with different user attributes and security credentials like passwords or security questions. It also makes it easy to get user details for either a single user or a list of users.
Even though Okta makes integration relatively easy for developers, creating custom integrations can become cumbersome when you're working with several applications. Merge's single Unified API lets you integrate with over sixty HR, accounting, and identity platforms, including Okta, and access data from them over a single API. It lets you focus on building your core product instead of having to develop custom integrations for third-party platforms, saving you effort, time, and money.
Learn more about Merge's Unified API from the official documentation or sign up for a free account.


.png)

