
Table of contents

.avif)
5 steps to building API integrations successfully


Regardless of the API integration you’re looking to build, you’ll likely need to follow a specific set of steps to implement it effectively.
We’ll cover each of these steps so that your team can build any integration quickly and thoughtfully. But before we do, let’s align on the definition of API integration.
What is API integration?
It’s the process of connecting applications via their APIs. Once connected, the applications can sync specific data at predefined intervals.
{{this-blog-only-cta}}
API integration steps
Here’s a look at each step you should take:
1. Define your integration requirements
Understanding how, exactly, an integration is meant to perform can help you resource the project appropriately, set accurate expectations for delivering it, and prioritize (or deprioritize) it as necessary.
This involves pinpointing the relevant resource, the actions you want to perform on it (i.e., GET, POST, PUT, PATCH, DELETE), and the frequency of performing these actions. You’ll also need to decide on the follow-up workflow automation once the sync occurs.
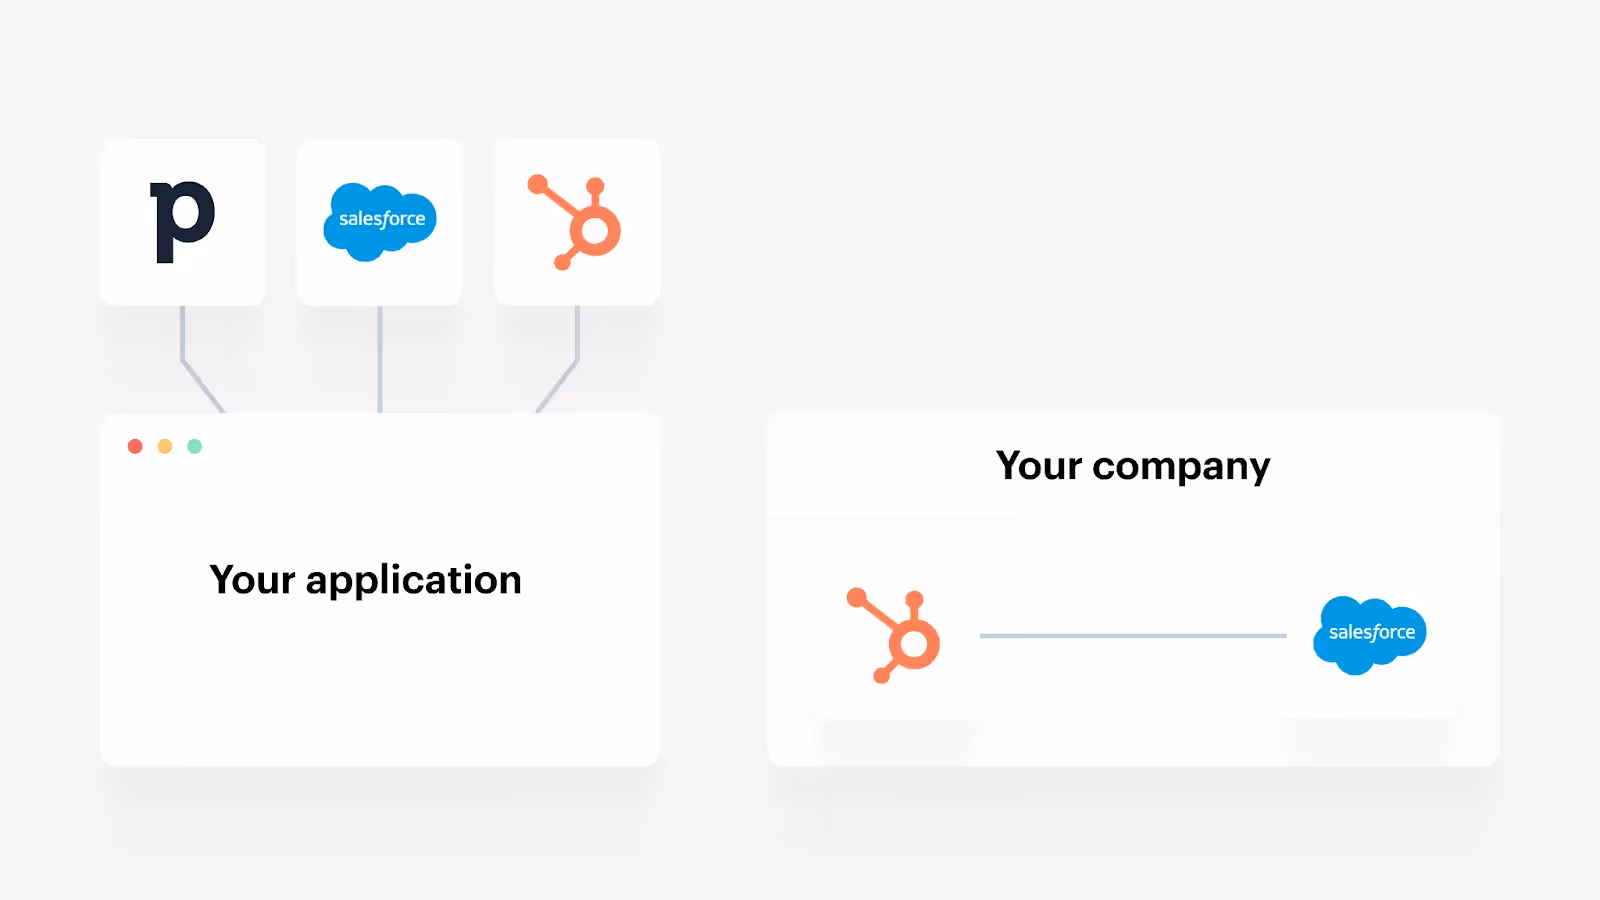
To put this all together, let’s use the following example:
Say you want your CRM (e.g., Salesforce) to GET high-fit leads from your marketing automation tool (e.g., HubSpot) every 5 minutes.
.avif)
Once your CRM collects a new high-fit lead, the assigned sales rep can automatically get notified in a business communications platform (e.g., Slack), where the notification can include key details on the lead (their job title and employer, the content they've downloaded, the webinars they've attended, etc.).
Related: How to gather integration requirements
2. Review the API provider’s documentation
The documentation often provides all the pertinent information for building the integration.
This includes the endpoint for accessing the resource you care about; the parameters you can use for a given endpoint; the authentication methods the API provider supports (e.g., API keys), the rate limits you’ll need to follow when polling the API endpoint; how you can paginate your responses; and the error codes you might come across.
Some API providers even include examples of requests and responses in the different coding languages they support. This can help you visualize how to structure your requests and what you can receive in the response body.

3. Build to the endpoint
Your developers can begin the work of implementing the integration via whatever coding language they prefer and the API provider supports (via their SDKs).
As your developers carry out this work, they’ll want to also build out a separate sandbox environment where they can test the integration (more on this in the next step).
In addition, based on the common error codes you find in the API provider’s documentation and that you anticipate coming across beyond those provided, your developers can design error-handling processes that handle each potential scenario effectively. For instance, when server-side issues occur (5xx errors) or you receive an error from making too many requests (429 error), your team can use exponential backoffs.
4. Test the integration
Once your integration is built, you’ll want to evaluate it in a variety of ways to detect and address its vulnerabilities.
Here are just a few of the tests you should run:
- Scale testing: to determine how the integration performs when handling a significant volume of data
- Loading testing: to see how well the integration does at processing a high number of simultaneous requests
- Unit testing: to evaluate the performance of individual components
- Authentication and authorization testing: to verify that your authentication method is handled properly
Related: A guide to building secure API integrations
5. Document how the integration works
Once your developers finish building the integration and it’s pushed to production, they'll likely still remember all the key details on how it was built. As a result, having them document it at that time ensures that they won’t—or won’t be as likely to—forget crucial details.
Moreover, the documentation limits your reliance on the initial engineers who built the integration; if and when they leave, your remaining engineers can just refer to the documentation whenever the integration breaks or needs to be improved.
Enable your engineers to skip these steps by using Merge
Merge, the leading unified API solution, allows your developers to only build once to Merge and access hundreds of customer-facing integrations across key software categories.
Merge also handles the full integration lifecycle; once an integration is built, our team of partner engineers maintains them and your customer-facing team can use our Integration Observability tooling to keep tabs on clients’ integrations and troubleshoot any issues.
{{this-blog-only-cta}}

.png)


