
Table of contents


How to get all issues with the GitHub API in Python


GitHub is widely used by developers from companies of all sizes to manage issues, code, projects, and more.
To help users better access and integrate its services, GitHub offers a REST API that allows you to access your GitHub data through your applications and services as and when you need it. And while there are a variety of valuable endpoints provided in GitHub's API, issues is one of the most valuable; it lets you sync issues with internal bug tracking systems, use issue data to trigger project management tasks, identify common issues, and more.
We'll help you leverage this endpoint effectively by breaking down how you can access all issues in a given GitHub repository using Python. You'll also learn how to set up a webhook that automatically receives all new issues created on a GitHub repository.
{{this-blog-only-cta}}
Prerequisites
You'll need these things to follow along:
- A GitHub account to generate a token that enables you to access the GitHub API
- A GitHub repo with closed and open issues
- A copy of Python installed on your system
- ngrok for creating a public URL for a webhook
If you don't have a GitHub repo on your account that has a few issues in both closed and open states, you can either create one manually or use a public repo, such as this one.
Related: A guide to retrieving repositories in GitHub
Generating a GitHub auth token
Once you're ready to start, head over to the Settings page on your GitHub account and generate a new classic auth token by clicking on the Generate new token drop-down and selecting Generate new token (classic).
You might be asked to provide your GitHub password to verify your identity.
On the next page, name your token to recognize it later and select its scope. Since you're looking to access public information in this tutorial, you don't need to select any scopes. Once done, click on the green Generate token button at the bottom:

Once the token is created, you'll be shown its value. Make sure to copy and store it in a safe place.
Fetching all GitHub issues
To create the app for this tutorial, create a new directory with two files in it named appy.py and templates/index.html using the following commands:
The app.py file holds your Flask app's code, and the templates/index.html file defines a basic HTML template that you'll use to render the list of issues.
Paste the following in the templates/index.html file:
This HTML file defines an input box, a button that lets you enter the URL of the repo whose issues have to be fetched, and a list at the bottom where the fetched issues are listed.
Next, paste the following code into the app.py file:
This code defines two endpoints—a home page route (/) to render the HTML web page and another route to fetch the issues for a particular GitHub repo and render the populated template.
The /fetch_issues endpoint makes a request to the GitHub Search endpoint to look up all issues of a given repo and return one hundred items per page. If you're handling a repo with a large number of issues, you need to take care of API pagination yourself since the GitHub API limits the maximum number of items in this response to a hundred.
Note that the GitHub Search API has been used here instead of the Issues API. This is because the Issues API also returns pull requests in the response as GitHub treats issues and pull requests the same internally. If you'd like to experiment, you can try replacing the GitHub API URL with https://api.github.com/repos/{owner}/{repo}/issues?state=all&per_page=100to test out the Issues API.
Before you run this code, you need to run the following commands to create a virtual environment in the directory, activate it, and install the required packages (requests and Flask):
You can now run the app using the following command:<code class="blog_inline-code"> python3app.py</code>You can access the app at http://17.0.0.1:5000. Here's how the page looks when you enter the URL https://github.com/krharsh17/sample-repo.git in the input box:

You can put in any repo's URL to list its issues. You can also develop this code further to make integrations that rely on this data.
Related: 5 steps to connect GitHub MCP with Claude Code
Setting up a webhook endpoint
GitHub also allows you to set up webhooks to get notified when a new issue is created on one of your repos. To do that, you need to make some changes to the Flask app you've created.
Start by adding the following to the templates/index.html file to render the list of issues received through the webhook.
The ul tag makes use of HTMX to make AJAX GET requests to a /webhook endpoint in the app and load the latest list of issues received from the webhook. The attribute sets the requests to be sent every two seconds to poll the backend for the latest list of issues.
On the backend, you need to add the following code in the app.py file:
This defines the endpoint that handles both equests. When you run the app, the GitHub webhook sends requests to this endpoint, and it stores the incoming issues' payload through it, too. At the same time, the front end makes use of the endpoint to fetch the stored issues.
For the GitHub webhook to send requests to your Flask app, you need to generate a remote URL for your app. You can do that through an HTTP tunneling service like ngrok. Run ngrok using the following command:<code class="blog_inline-code">ngrok http 127.0.0.1:5000</code
This command starts HTTP tunneling and creates a remote URL for you that looks something like this:https://23fd-223-179-156-103.ngrok-free.app. You'll use this URL with the/webhook path to create a webhook for your repo.
Navigate to your repo's home page and click on Settings:
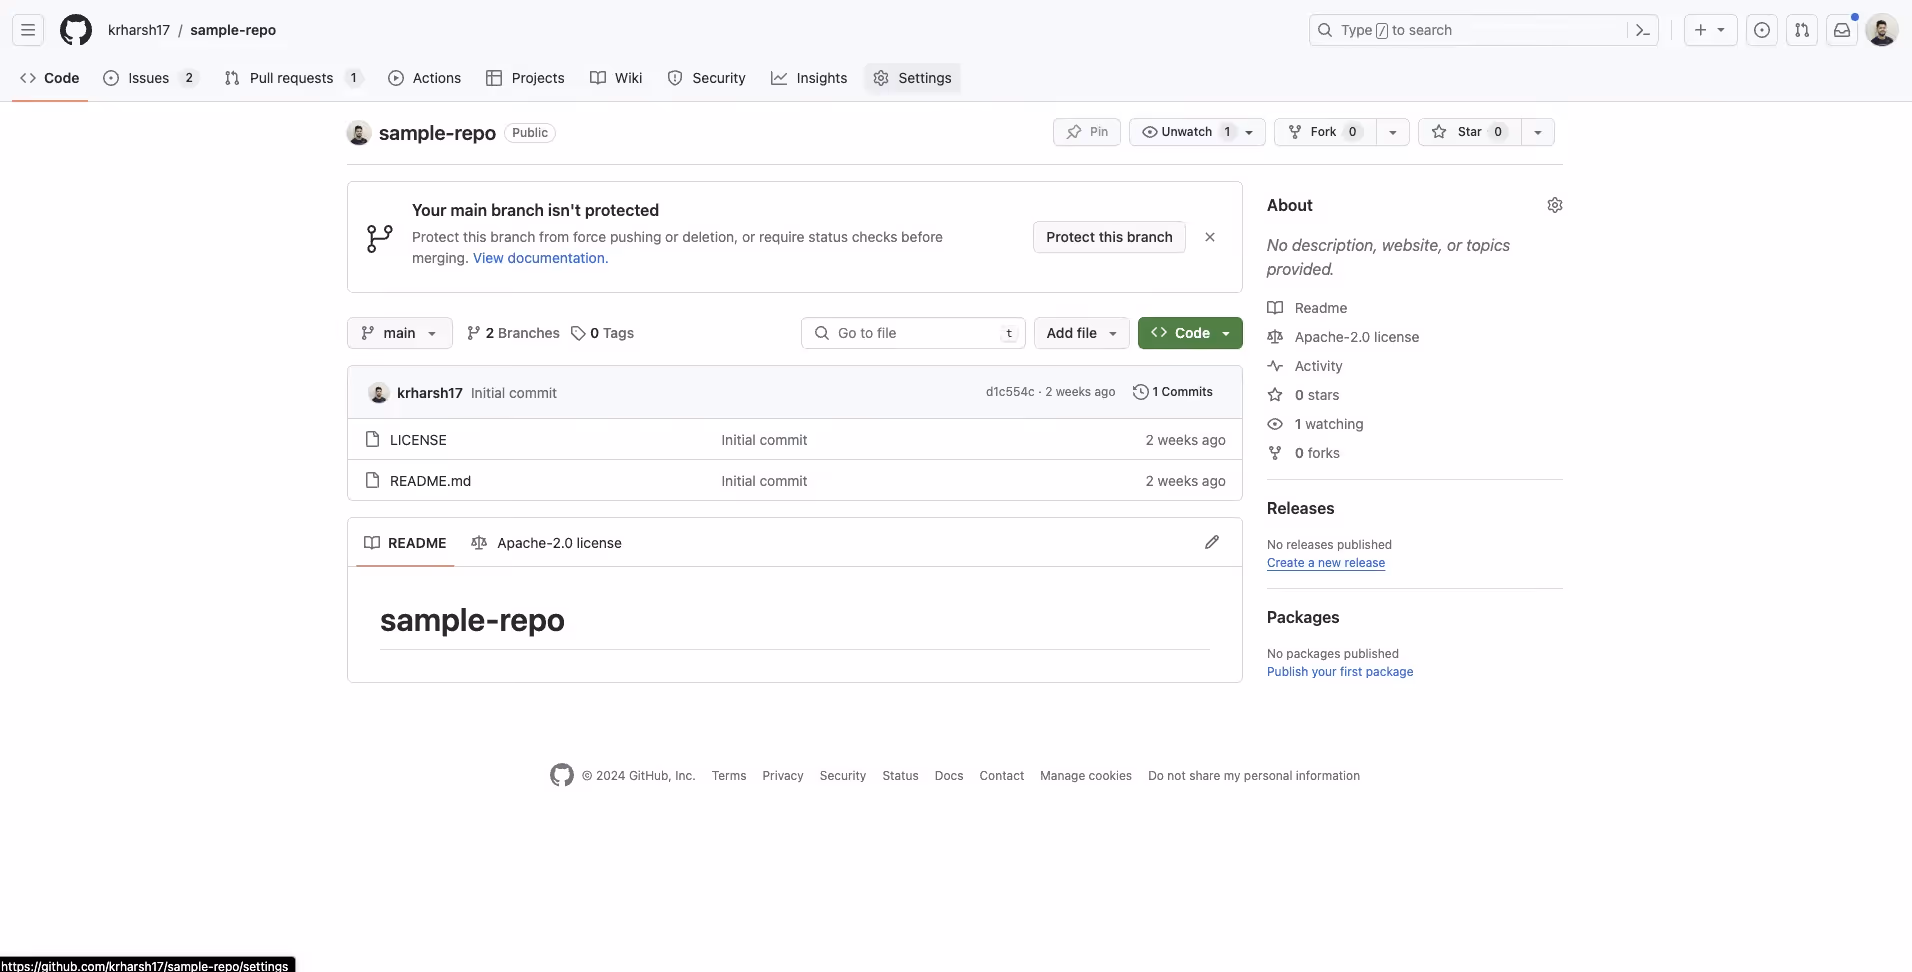
On the Settings page, click on Webhooks under the Code and automation subsection on the left of the page:

Click on the Add webhook button at the top right of this page:

In the new form that opens, enter the payload URL and configure other options:

After you've entered the payload URL (<Ngrok URL>/webhook), set the content type as application/json, select Let me select individual events under Which events would you like to trigger this webhook, and check the box next to Issues under the events list:

Make sure the Active checkbox is checked at the bottom and click on the Add webhook button:

Once created, GitHub automatically sends a test request to your webhook URL to test it out:

If your app is running, you'll see a line of output in its logs similar to the following, indicating that the request was received:
127.0.0.1 - - [31/Jan/2024 13:59:13] "GET /webhook HTTP/1.1" 200 -
127.0.0.1 - - [31/Jan/2024 13:59:14] "POST /webhook HTTP/1.1" 200 -  # This one
This means that you've set everything up correctly.
You can now try creating a new issue in your repo to see how it is automatically populated on the web page:

Note: You can find the code for the complete app built in this tutorial in this repo.
Build to multiple ticketing applications through a single API with Merge
As you can tell, the process of implementing this integration is relatively complex and time intensive. This is only exacerbated when you expand this out to the other ticketing applications you'd like to integrate with.
To help you integrate with all the ticketing tools your clients and prospects use quickly and easily, you can build to Merge's Ticketing Unified API.
You'll also be able to oversee and address clients' integration issues via Merge's Integration Observability features and lean on Merge's team of partner engineers for any integration maintenance-related work.
Learn more about how Merge can help you integrate with several ticketing tools by scheduling a demo with one of Merge's integrations experts.


.jpg)
.png)

