
Table of contents
Just for you
How to access your API key in Intercom


Intercom, an AI-powered customer service solution, is designed to help companies facilitate personalized and timely communication with their clients.
While you can benefit from Intercom’s standalone features and capabilities in a variety of ways, you can get even more value by integrating Intercom with your product or your internal applications.
To do so, you’ll first need to procure your unique API key.
We’ll break down the steps for doing exactly that below!
Step 1: Login to Intercom
Log in to your Intercom account here.
Related: How to get your API key in Box
Step 2: Navigate to Developer Hub
After that, open a new tab and head to the Developer Hub
Step 3: Create or access an app
Click the “New app” button to start fresh, or click into your existing app.

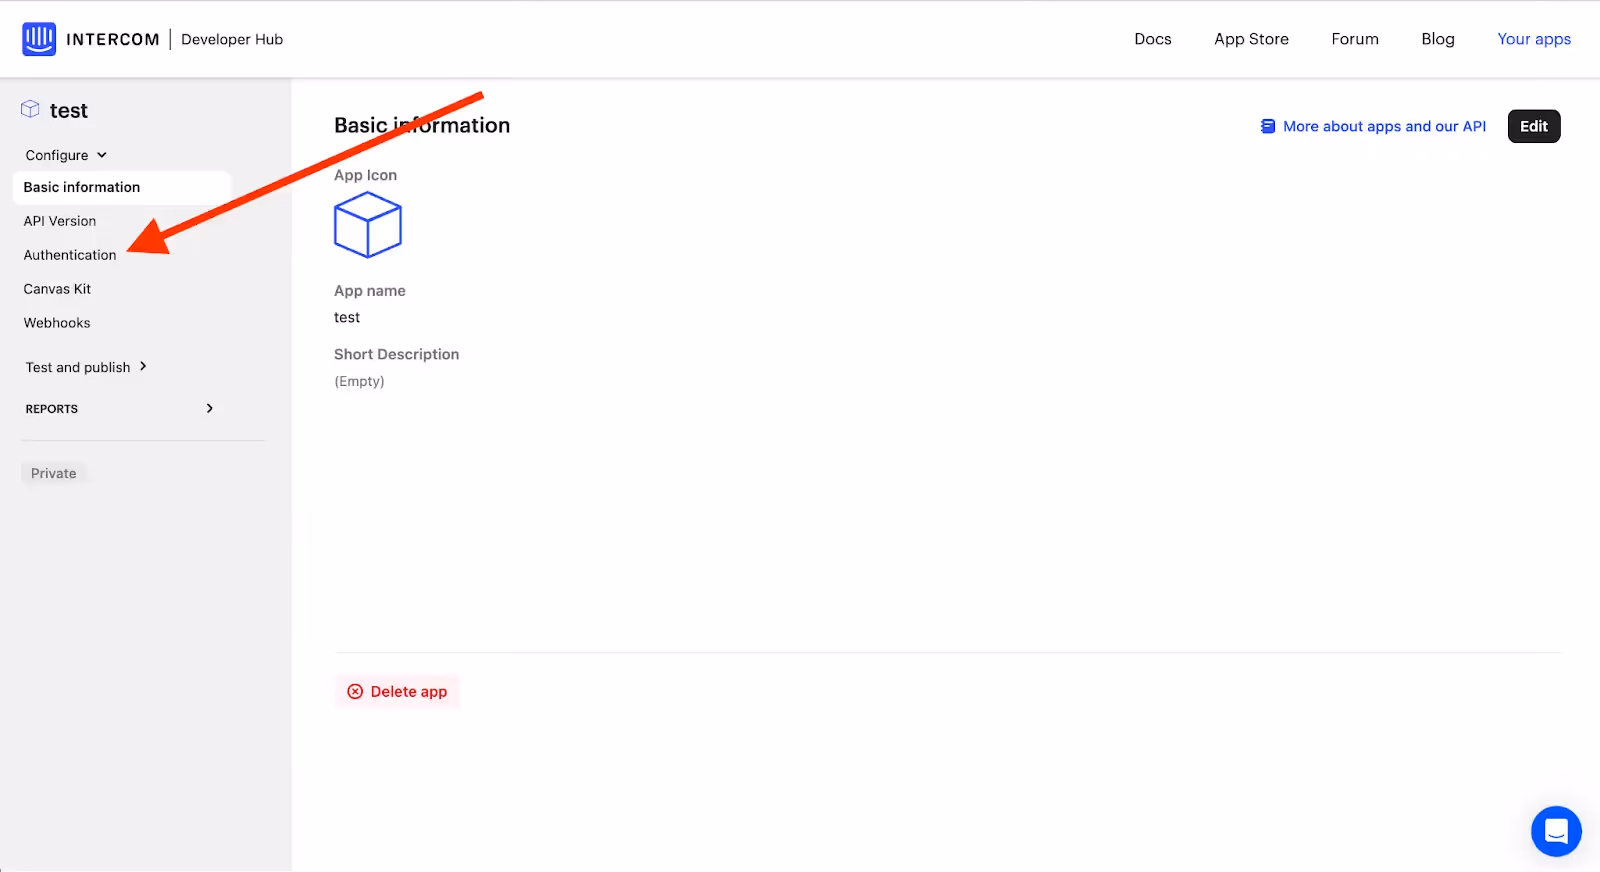
Step 4: Locate the authentication section
On the next screen, click “Authentication” in the menu on the left. This is where you can manage and generate API keys.
Related: The steps for getting your ClickUp API key
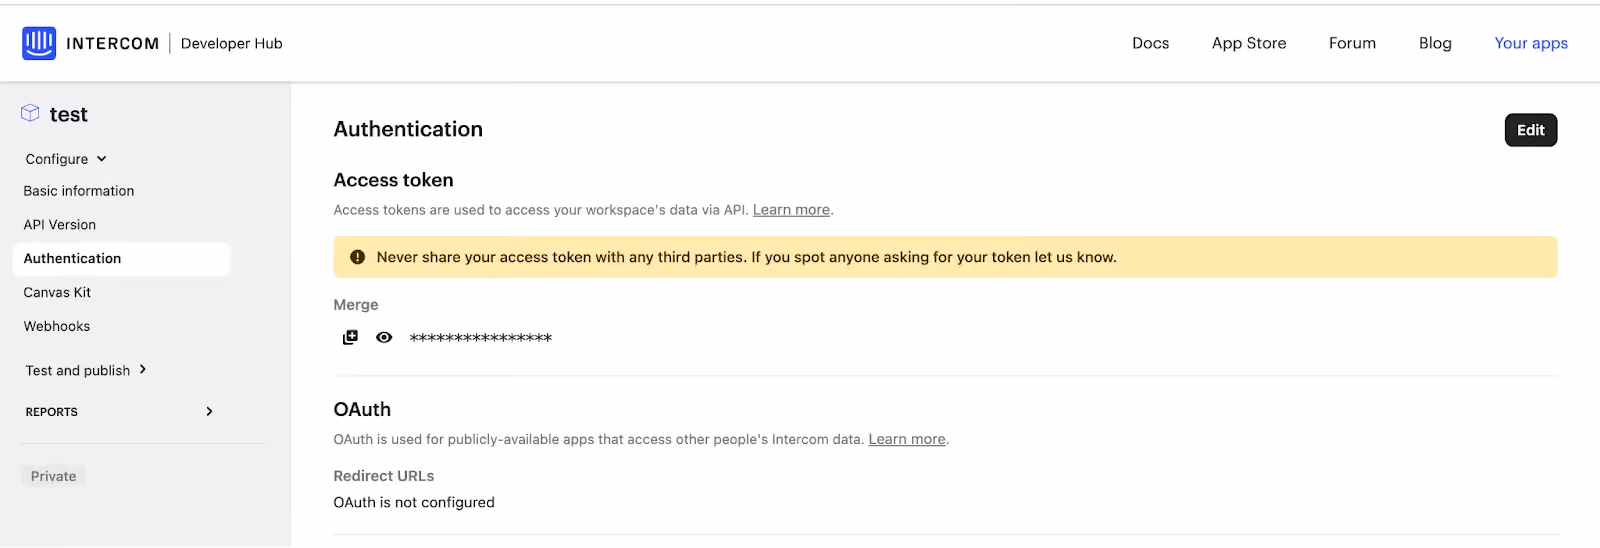
Step 5: Generate the API key (if needed)
If this is an existing project and the API key has been generated already, you’ll see it hidden. If not, you can generate it here.
Other key considerations for building to Intercom’s API
Before integrating with Intercom’s API, it’s worth considering other items:
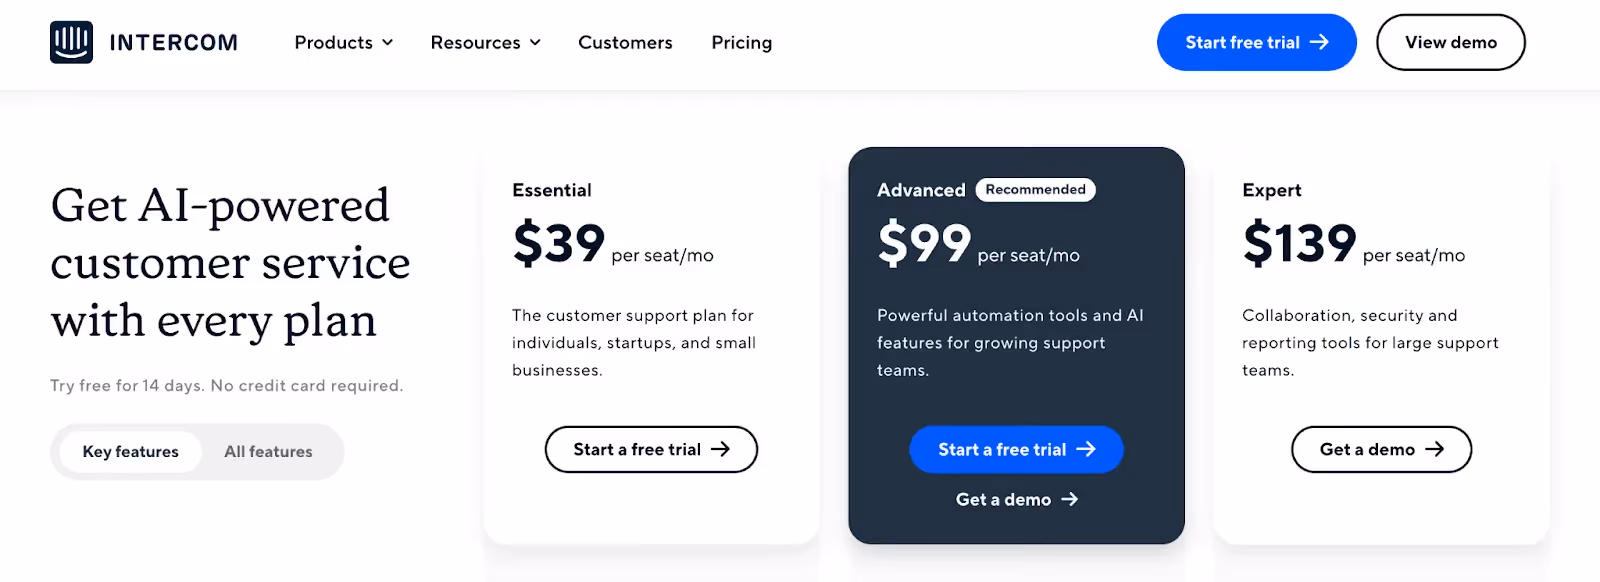
Pricing
Intercom offers three tiers of pricing, Essential, Advanced, and Expert. The Essential plan is great for individuals, startups, and small businesses and includes the basic necessities.
The Advanced and Expert plans are best suited for bigger organizations who are building out or already have robust support teams. Both of these plans come with powerful automation tools and AI features, but the Expert plan has more collaboration, security, and reporting tools.
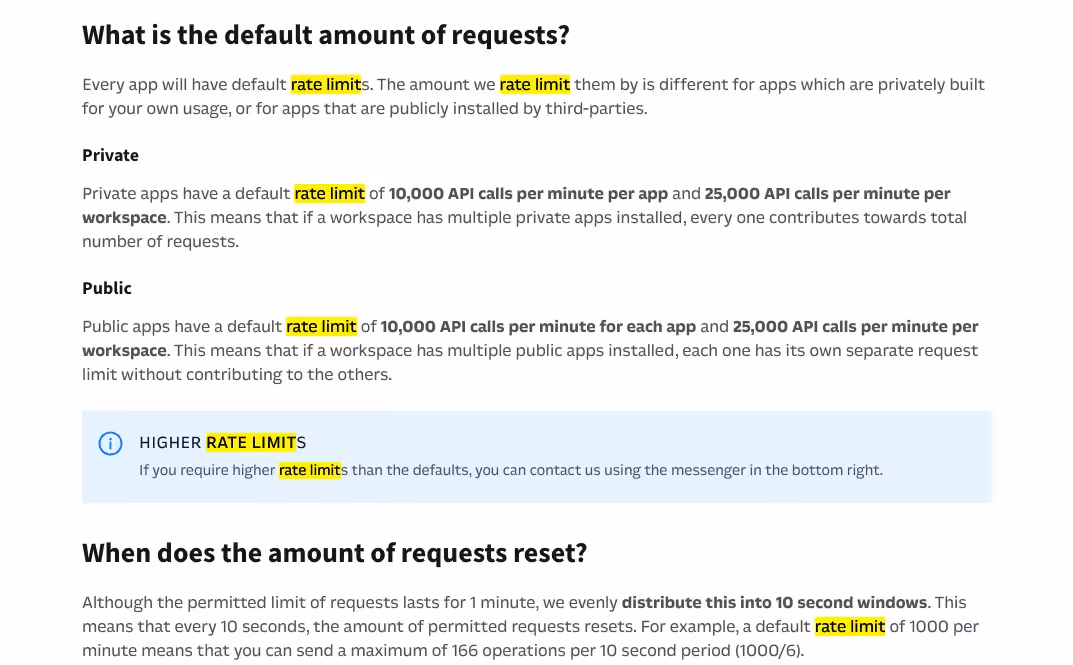
Rate limits
Every app has a default rate limit no matter the plan you're on. These rate limits can be adjusted (if needed) by contacting Intercom support or your Intercom rep if your organization has one.
You can learn more about their rate limits in their documentation here.
Errors to look out for
When developing to Intercom’s API, you should look out for the following errors:
- 401 Unauthorized: This error indicates that the request lacks proper authentication credentials or the provided API key is invalid.
- 403 Forbidden: This error occurs when the authenticated user does not have the necessary permissions to access or perform the requested operation.
- 422 Unprocessable Entity: This error is often related to invalid input parameters or data format issues. The request is syntactically correct, but the server cannot process it due to validation errors.
- 429 Too Many Requests: Users may encounter this error if they exceed the rate limits imposed by Intercom. It indicates that the client has sent too many requests in a given amount of time.
- 5xx Server Errors: These errors indicate a problem on Intercom's server side. For example, a 500 Internal Server Error suggests an issue with Intercom's servers processing the request.
- Deprecation Warning: Users might receive warnings indicating that the endpoint they are using is deprecated or will be deprecated in the future. This signals that they should update their integrations to use the latest versions of the API.
- Timeout Errors: If the client takes too long to send or receive a request, a timeout error may occur.
Final thoughts
Many of your customers use customer service tools that go beyond Intercom, like Zendesk or Front.
You can offer countless other ticketing integrations to your customers by simply integrating with Merge’s Ticketing and Project Management Unified API.
To learn more about the API, and Merge’s platform more broadly, you can schedule a demo with one of our integration experts!

.jpg)
.png)
.png)

